How to Install Artificial Turf in Your Backyard: A Step-by-Step DIY Guide
Learning how to install artificial turf in your backyard transforms your outdoor space without the ongoing maintenance burden of natural grass. This practical guide walks you through every stage—from site assessment to final infill—so you can achieve a natural-looking lawn that stays green year-round while saving water and time.
Why Choose Artificial Turf? Key Benefits for DIY Homeowners
Artificial turf eliminates mowing, watering, and seasonal lawn treatments. For homeowners in drought-prone regions or those with heavy foot traffic, synthetic grass cuts water usage by up to 100% while maintaining a manicured appearance. DIY installation saves 40–60% compared to professional installation, making this an attractive weekend project for budget-conscious homeowners.
Beyond cost savings, artificial turf performs consistently in high-traffic zones like play areas and pet spaces where natural grass wears thin. It’s an especially smart upgrade if you’re planning a backyard transformation.
Planning Your Turf Installation: Tools, Materials, and Site Prep
Essential Tools and Materials
Before breaking ground, gather these items:
- Landscape fabric or weed barrier
- Crushed stone or recycled rubber base (2–4 inches deep)
- Artificial turf (measure your area accurately)
- Seaming tape and adhesive (for joining sections)
- Infill material (silica sand or rubber granules)
- Utility knife with sharp blades
- Broom or power broom
- Landscape staples or galvanized nails (6–8 inch)
- Tape measure, chalk line, and level
- Work gloves and safety glasses
- Wheelbarrow for moving base material
Measuring and Assessing Your Space
Measure your installation area in sections if it’s irregular. Note high and low spots—artificial turf performs best on level ground. Check for drainage issues; standing water will pool under synthetic grass. If your yard slopes, plan for proper drainage by slightly grading away from structures. Mark utility lines (call 811 before digging) and identify shade patterns to determine which turf product suits your space.
Removing Existing Grass and Debris
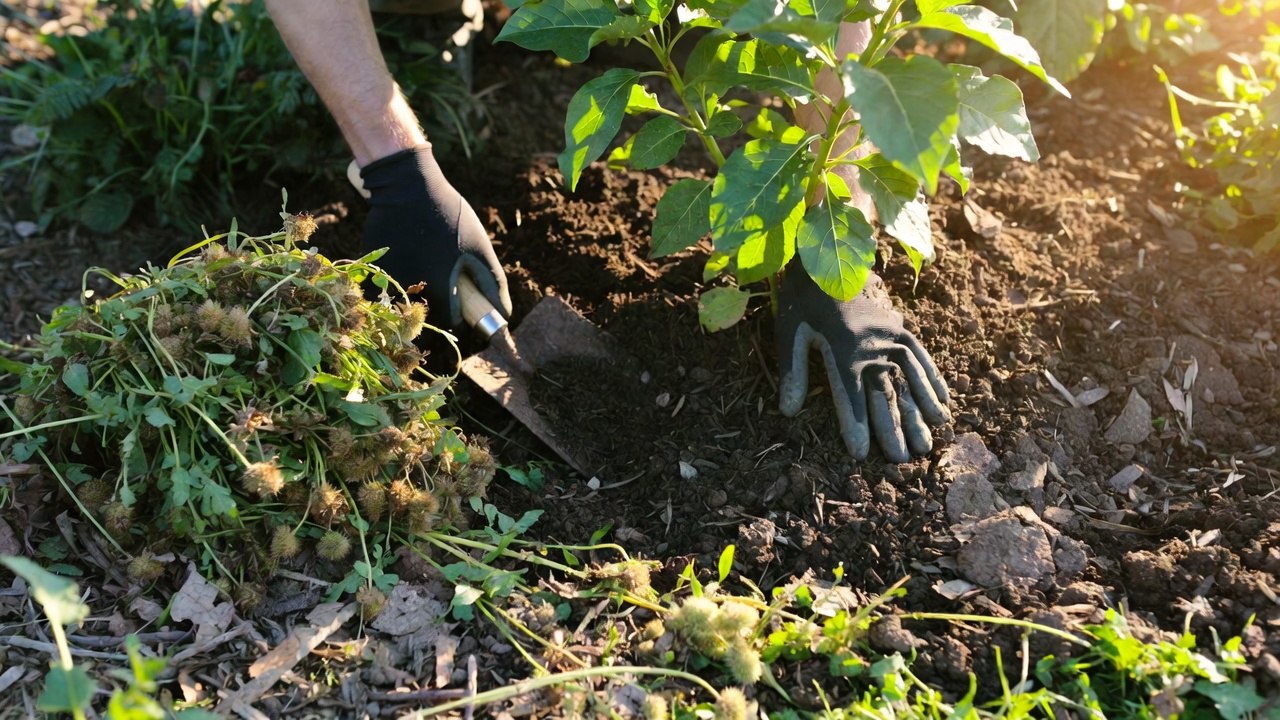
Strip away existing sod using a flat shovel or sod cutter. Remove rocks, roots, and debris down to bare soil. Fill any holes and level the ground as much as possible. For small yards, this is manageable by hand; larger areas benefit from renting a sod cutter (typically $50–$100 per day).
Step-by-Step Installation Process
Step 1: Install the Base Layer
A solid base prevents settling and drainage problems. Lay landscape fabric over bare soil to suppress weeds. Spread 2–4 inches of crushed stone or recycled rubber base, then compact it firmly using a hand tamper or plate compactor. The base should be level and firm enough that you can’t easily press your foot into it. This foundation is critical—it determines how long your turf will last.
Step 2: Lay Out and Cut the Turf
Unroll artificial turf and let it acclimate to the temperature for 24 hours. Lay it out dry first to check fit and minimize seams. For areas requiring multiple pieces, position seams along low-traffic zones or edges. Use a chalk line to mark cutting lines, then cut with a utility knife, making smooth, straight cuts. Cut the pile side (not the backing) to avoid fraying.
Step 3: Secure the Edges and Seams
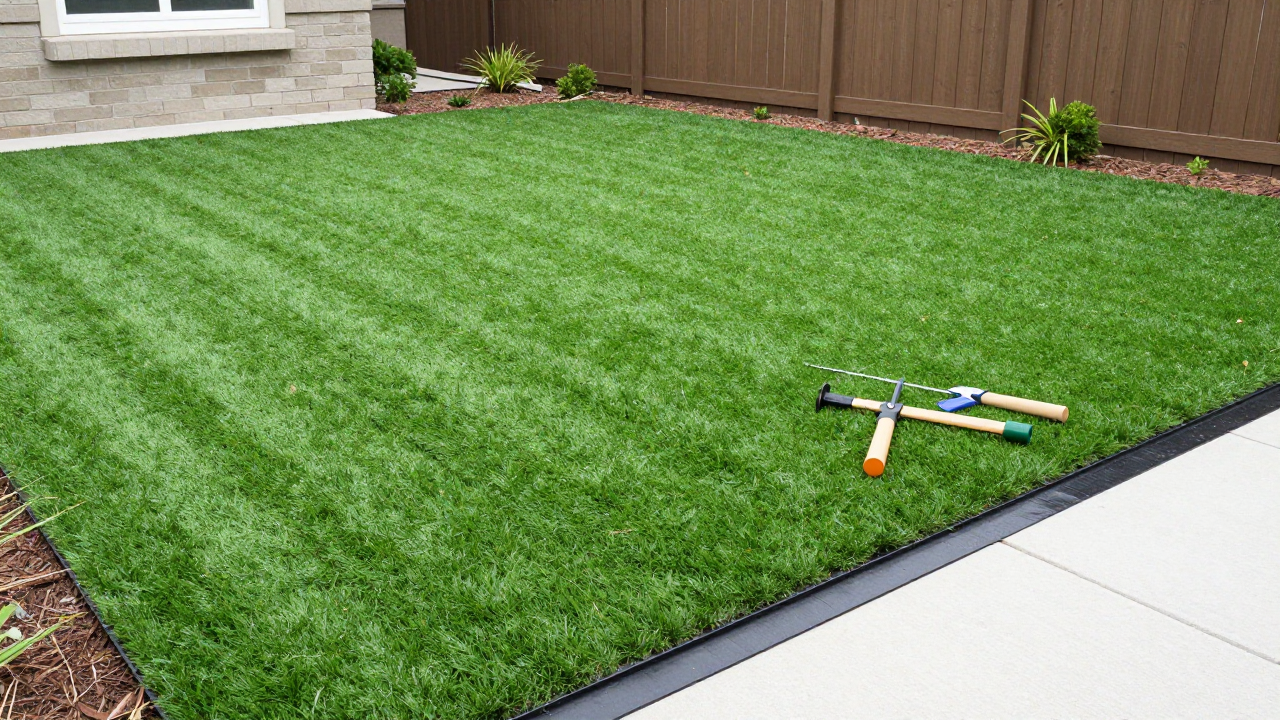
Secure turf edges with landscape staples or galvanized nails every 12 inches, driving them through the backing into the base. For seams, apply seaming tape and adhesive between two turf pieces, pressing firmly and holding for 30 seconds. Allow adhesive to cure per manufacturer instructions (typically 24 hours) before allowing foot traffic on seams.
Step 4: Add Infill Material
Infill supports the turf fibers and provides weight. Spread silica sand or rubber granules evenly across the entire surface using a drop spreader or by hand. Apply infill in two passes, brushing the turf between applications to distribute material into the pile. Most installations require 1–2 pounds of infill per square foot. Brush the entire surface one final time to ensure even coverage and upright fibers.
Step 5: Final Inspection and Settling
Walk the entire installation area to check for wrinkles, loose edges, or uneven infill. Make adjustments immediately. Allow the turf to settle for 24–48 hours before heavy use. The infill will compact slightly—this is normal. Add more infill if areas appear thin after settling.
Best Backyard Zones for Artificial Turf: Sunlight, Usage, and Aesthetics
High-Traffic Areas
Artificial turf excels in zones with constant foot traffic: play areas, pet spaces, and patio transitions. Unlike natural grass, synthetic turf won’t develop bare patches from wear. Choose a turf product rated for heavy use (typically 15,000+ denier) in these zones.
Sunny Versus Shaded Spots
While artificial turf tolerates shade better than natural grass, it performs best in areas with 4+ hours of sunlight daily. In deep shade, algae and moss may develop on the surface. If installing in shaded areas, select UV-resistant turf and plan for occasional cleaning.
Drainage Considerations
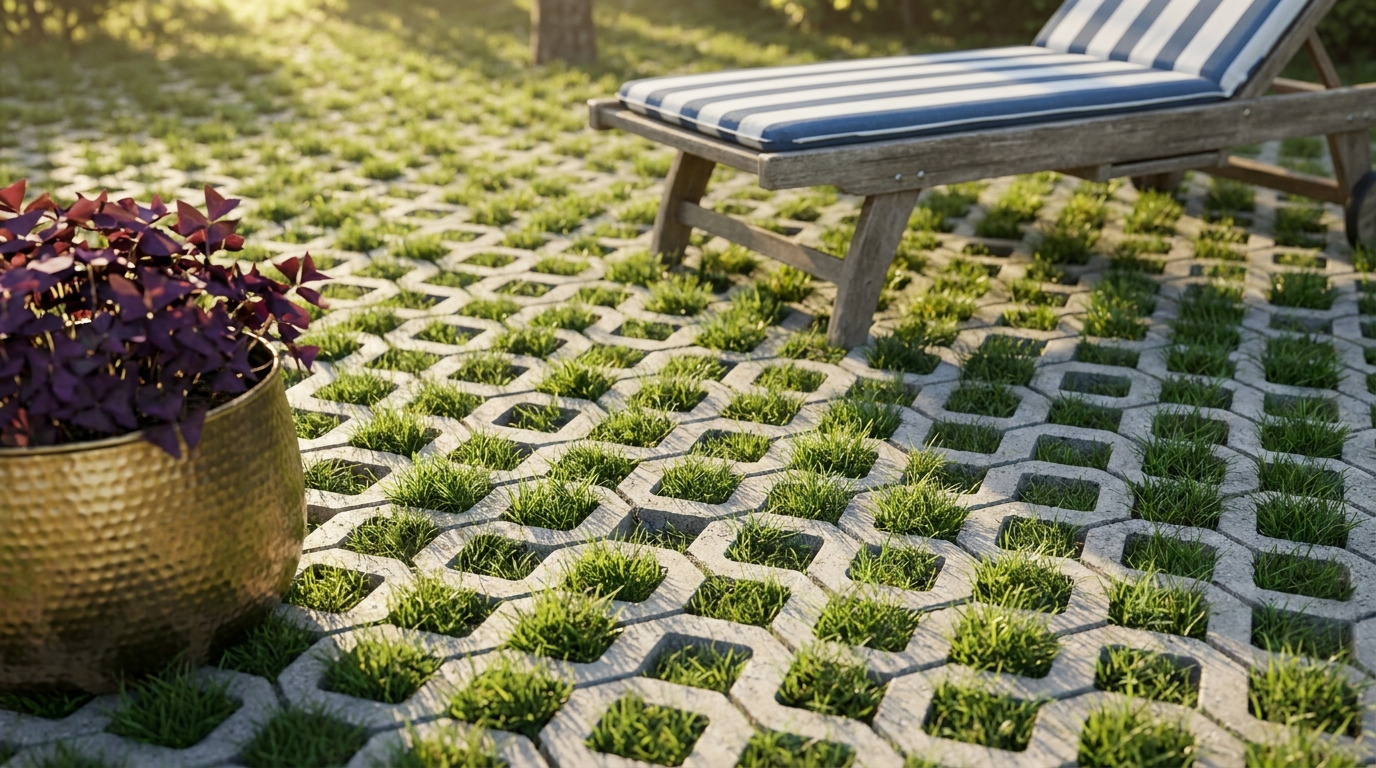
Artificial turf requires drainage. Avoid installing it in low spots where water pools or in areas with poor soil drainage. If your yard has drainage challenges, consider maximizing your small backyard by focusing turf installation on well-drained zones and using alternative ground covers elsewhere.
Aesthetic Pairing
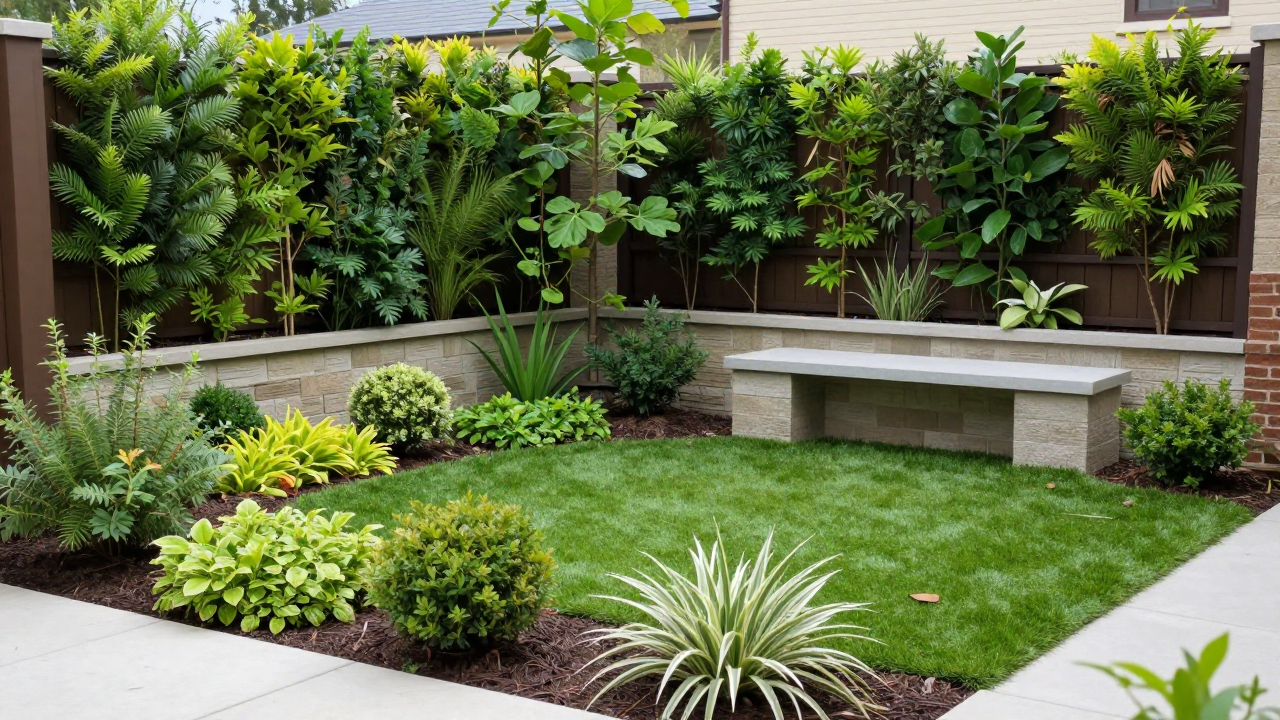
Artificial turf pairs well with hardscape elements like patios, raised beds, and pathways. Use it to frame focal points rather than covering your entire yard. A mix of turf and other landscaping creates visual interest and reduces the “artificial” appearance.
Common Mistakes to Avoid for a Natural-Looking Result
Skipping Base Preparation
The most common error is rushing the base layer. An inadequate or uneven base causes settling, wrinkles, and poor drainage. Spend time leveling and compacting—this investment pays dividends in durability and appearance.
Choosing the Wrong Turf Product
Cheap turf looks cheap. Invest in mid-to-high-quality synthetic grass with realistic coloring and blade texture. Budget products fade quickly and mat down under foot traffic. Check product specifications for UV resistance, denier rating, and pile height before purchasing.
Improper Infill Distribution
Uneven infill creates high and low spots that look unnatural. Distribute infill evenly in multiple passes, brushing between applications. Too little infill causes fibers to collapse; too much creates a hard, uncomfortable surface.
Visible Seams and Poor Edge Finishing
Seams become obvious if not properly adhered or if infill isn’t worked into the seam area. Plan seam locations carefully, use quality seaming tape, and allow adhesive to cure fully. Edge finishing should be clean and secure—loose edges invite dirt and invite damage.
Ignoring Drainage Slope
Installing turf on flat ground in an area with poor natural drainage traps water underneath. Ensure your base slopes slightly (1–2%) away from structures and toward drainage areas. This prevents pooling and extends turf life.
Maintenance Tips: Keeping Your Artificial Turf Clean and Durable
Regular Brushing and Raking
Brush your turf weekly with a stiff-bristled broom to keep fibers upright and distribute infill evenly. This simple habit prevents matting and maintains a natural appearance. Rake gently to remove leaves and debris.
Spot Cleaning
For spills, rinse with water immediately. For pet accidents, flush the area thoroughly with water and apply a pet-safe enzymatic cleaner. Remove solid debris by hand or with a small shovel.
Deep Cleaning
Once or twice yearly, deep clean with a power washer on low setting (under 1,500 PSI) or hire a professional. High-pressure washing can damage turf fibers. Alternatively, use a garden hose with a spray nozzle for gentle cleaning.
Infill Top-Up
Infill compacts and migrates over time. Add fresh infill annually or as needed—typically 0.5–1 pound per square foot per year. This maintains proper fiber support and extends turf life to 15–20 years.
Addressing Wear Patterns
High-traffic pathways may show wear sooner. Brush these areas more frequently and add infill as needed. Rotate furniture placement to distribute wear evenly across the turf.
Conclusion: Long-Term Benefits of Artificial Turf in Your Backyard
Installing artificial turf in your backyard is a weekend project that delivers years of benefit. With proper planning, careful base preparation, and attention to detail during installation, you’ll achieve a natural-looking lawn that requires minimal maintenance. The upfront effort and cost pay dividends through water savings, eliminated mowing, and a consistently attractive outdoor space.
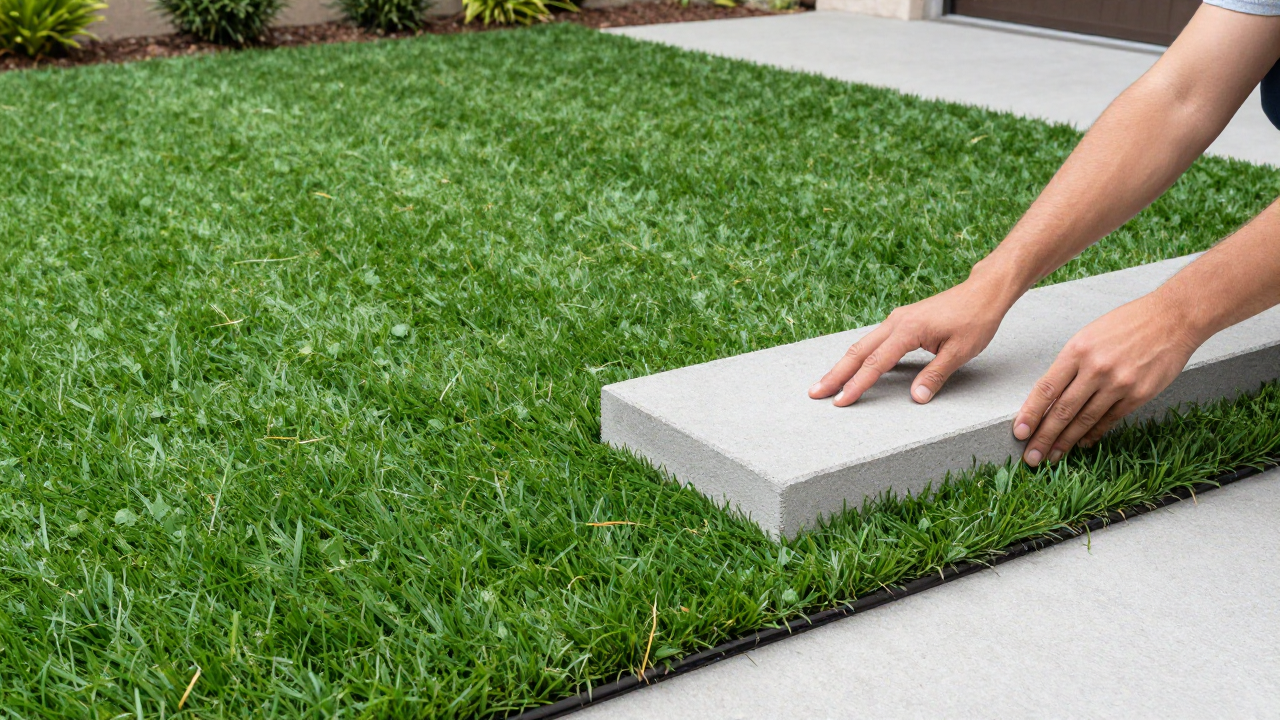
Start with a small test area if you’re new to synthetic turf installation. This builds confidence and lets you refine your technique before tackling larger zones. Once you see the results—a green, low-maintenance lawn regardless of season or weather—you’ll understand why artificial turf has become a smart choice for homeowners nationwide.
Ready to upgrade other areas of your outdoor space? Explore quick DIY projects that complement your new turf installation and create a cohesive backyard design.