
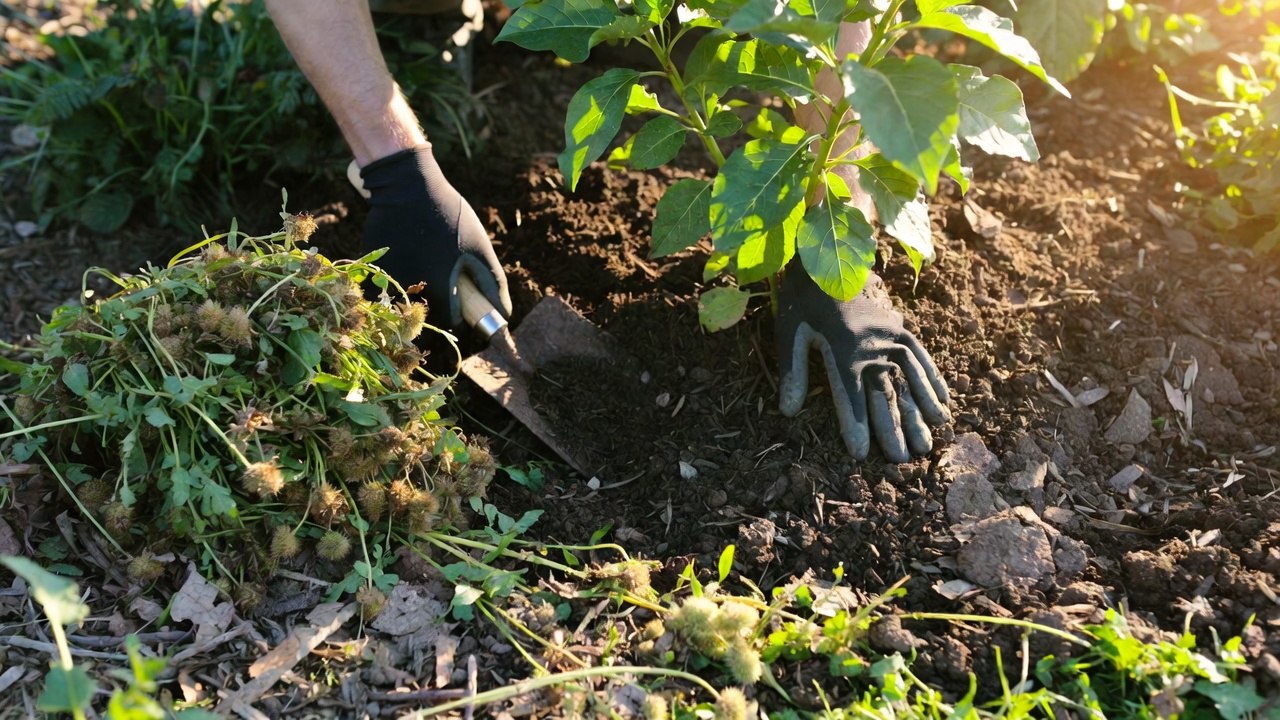
Late Summer Garden Tasks: Your End-of-August Checklist
Late August sits in a narrow but powerful window — warm enough to work comfortably outdoors, yet close enough to fall that every hour you spend in the garden now pays double dividends come spring. Getting your late summer garden tasks done before September arrives means fewer weeds overwintering, healthier soil heading into the cold months, and a lawn that bounces back faster when temperatures rise again. This checklist walks you through the five most impactful jobs to tackle this weekend, in the order that makes the most practical sense.
1. Pull Weeds Now, Not Later
Late August is crunch time for weeds. Annual weeds like crabgrass, lamb’s quarters, and purslane are either seeding or about to seed. A single pigweed plant can drop up to 100,000 seeds into your soil — seeds that will germinate enthusiastically next May. Pull them now, before those seed heads ripen and shatter.
- Target first: Any weed with a visible flower head or developing seed pod. These are your highest-priority pulls.
- Work after rain or watering: Moist soil releases roots cleanly. Dry soil snaps stems and leaves roots behind to regrow.
- Use a hori-hori or long-handled weeder for tap-rooted weeds like dandelions and dock — don’t snap the root at soil level.
- Don’t compost seeding weeds. Unless your compost pile reliably hits 140°F–160°F, those seeds will survive and spread. Bag them for yard waste pickup instead.
- Perennial weeds like bindweed or ground ivy: Cut them back hard now to exhaust their root energy reserves before winter dormancy.
After clearing weeds, resist the urge to leave bare soil exposed. Bare ground is an open invitation for the next weed flush. Move straight to mulching (covered in Section 4) as soon as beds are cleared.
2. Deadhead Spent Blooms — But Not Everything
Deadheading — removing spent flower heads — redirects a plant’s energy from seed production back into root development and, in many cases, triggers a second flush of blooms before the first frost. Late August is an ideal time to do a thorough pass through your beds.
Plants That Benefit Most From Deadheading Now
- Roses: Remove spent blooms down to the first set of five leaflets to encourage a fall flush.
- Dahlias: Deadhead continuously — they bloom until frost if you keep up with it.
- Coneflowers (Echinacea): Deadhead early-season blooms to extend flowering, but see the note below about late-season heads.
- Salvias and catmint: Cut back by one-third to trigger fresh growth and late blooms.
- Zinnias and marigolds: Deadhead weekly to keep annuals producing until frost kills them.
Plants to Leave Alone for Wildlife
Not every spent bloom should be removed. Seed heads on certain plants are a critical food source for birds heading into migration and winter. Leave the following alone from late August onward:
- Coneflowers (Echinacea) — late heads: Goldfinches feed heavily on these seeds from September through November.
- Black-eyed Susans: Seed heads persist through winter and feed sparrows and chickadees.
- Ornamental grasses: Leave seed heads intact — they also provide winter structure and insulation for overwintering insects.
- Sunflowers: Once blooms are spent, leave heads on the stalk or cut and hang them for birds.
The practical rule: deadhead anything that re-blooms before frost, and leave anything that primarily feeds wildlife or provides winter structure.
3. Refresh Your Mulch Before Fall Sets In
Mulch applied in spring has likely broken down, compacted, or washed thin by late August. A fresh layer now does three important jobs simultaneously: it suppresses the next flush of weed seeds, insulates soil temperature as nights cool, and locks in moisture during the dry spells that often hit in September.
How Much to Add
Aim for a total mulch depth of 2–3 inches after your refresh. If you’re topping up existing mulch, 1–1.5 inches of new material is usually sufficient. More than 3 inches total can suffocate roots and create habitat for slugs and rodents.
What Type to Use in Late Summer
- Shredded hardwood or bark: Best all-around choice for ornamental beds. Breaks down slowly and improves soil structure over winter.
- Straw: Ideal for vegetable beds. Lightweight, easy to pull back in spring, and breaks down to add organic matter.
- Pine needles: Good for acid-loving plants like blueberries, azaleas, and rhododendrons.
- Avoid dyed wood mulch: The colorants can leach into soil, and the wood is often ground from construction waste with unknown chemical treatments.
Application Tips
- Pull existing mulch back from plant stems and tree trunks before adding new material — mulch volcanoes against bark cause rot and pest damage.
- Water the soil before applying if it’s dry — mulch on dry soil locks drought in, not moisture.
- For vegetable beds you’ll be putting to sleep for winter, apply mulch after your final harvest and a light compost top-dress.
If you’ve been experimenting with drip irrigation in your vegetable or container garden, mulch works in tandem with it — reducing evaporation and keeping soil temperature stable. The Efficient DIY Drip Irrigation for Vegetable Containers guide on Home Fix Hacks covers how to set up a system that pairs well with a mulched bed.
4. Turn and Feed Your Compost Pile
Late summer generates a surge of compostable material — spent vegetable plants, deadheaded flowers, grass clippings, and the first fallen leaves. This is one of the best times of year to build up your compost pile, because the heat of August accelerates decomposition dramatically.
What to Add From Late-Summer Garden Waste
- Green (nitrogen-rich) materials: Spent vegetable plants (disease-free), fresh grass clippings, deadheaded flower stems, kitchen scraps.
- Brown (carbon-rich) materials: Dry stalks, spent straw mulch, shredded cardboard, paper bags from garden centers.
- Ratio to aim for: Roughly 3 parts brown to 1 part green by volume. Too much green and the pile turns slimy and anaerobic; too much brown and it stalls.
How to Turn It Effectively
- Use a pitchfork or compost aerator to move material from the outside of the pile to the center — the center is where heat builds and decomposition happens fastest.
- Check moisture: the pile should feel like a wrung-out sponge. Dry piles stall; soggy piles smell. Add water or dry material to correct.
- If the pile hasn’t been turned in more than two weeks, turn it now and again in two weeks. Two turns in August can produce finished compost by October.
What Not to Add
- Any plant showing signs of disease (powdery mildew, blight, rust) — bag and discard these.
- Weeds with mature seed heads — as noted above, unless your pile reliably reaches 140°F+.
- Meat, dairy, or cooked food — these attract pests and create odor problems.
Finished compost worked into beds in October gives soil microbes all winter to break it down further, so it’s biologically available to plant roots the moment soil warms in spring.
5. Lawn Cleanup and Overseeding
Late August through mid-September is the single best window of the year to overseed a cool-season lawn. Soil is still warm enough for fast germination, air temperatures are dropping (reducing heat stress on new seedlings), and fall rains are typically on the way. Miss this window and you’re waiting until next spring — when crabgrass will outcompete your new grass seed.
Mowing Height Adjustment
If you’ve been mowing high through summer (a good practice for drought tolerance), gradually lower your mowing height by half an inch per cut over the next few weeks. Aim for 2.5–3 inches heading into fall for most cool-season grasses. This reduces thatch buildup and allows overseeded areas to receive light.
Thatch Removal
Thatch — the layer of dead grass stems and roots between the soil and the green canopy — blocks water, fertilizer, and seed from reaching the soil. If your thatch layer is more than half an inch thick, dethatch before overseeding:
- For small areas: A stiff-tined rake pulled firmly through the lawn is sufficient.
- For larger lawns: Rent a power dethatcher (also called a vertical mower or scarifier) — it cuts through thatch cleanly in one pass.
- Rake up and compost the loosened thatch material after the pass.
Overseeding: Timing and Technique
- Seed selection: Match your existing grass type — tall fescue, Kentucky bluegrass, or perennial ryegrass for cool-season lawns. Read the label for germination temperature ranges.
- Seed-to-soil contact is everything: Seed sitting on top of thatch or dry mulch won’t germinate reliably. Rake lightly after spreading seed to press it into the soil surface.
- Watering schedule: Keep the seeded area consistently moist — light watering twice daily — until germination (typically 7–14 days). Then gradually reduce frequency and increase depth to encourage deep root growth.
- Hold off on fertilizer: Wait until the new grass has been mowed at least twice before applying a starter fertilizer. Applying too early can burn tender seedlings.
For a broader look at what late summer outdoor projects can accomplish before the season turns, the Amazing Backyard Transformation Ideas roundup is worth a browse for additional inspiration.
Quick-Reference Checklist: Late Summer Garden Tasks at a Glance
Print this out or screenshot it before you head outside. Work through it in order — weeding first, mulching last in each bed — to avoid doubling back.
- ☐ Weeding: Pull all weeds with visible seed heads or flowers; bag seeding weeds rather than composting.
- ☐ Deadheading: Remove spent blooms on roses, dahlias, zinnias, salvias, and catmint; leave coneflower, black-eyed Susan, and sunflower heads for birds.
- ☐ Mulch refresh: Top up to 2–3 inches total depth; keep mulch 2–3 inches away from stems and trunks; water soil before applying.
- ☐ Compost: Turn the pile; add late-summer green and brown waste in a 1:3 ratio; check moisture; discard diseased plant material.
- ☐ Lawn mowing: Gradually lower mowing height to 2.5–3 inches over the next few cuts.
- ☐ Thatch check: If thatch exceeds half an inch, dethatch with a rake or power dethatcher before overseeding.
- ☐ Overseeding: Spread seed matched to your grass type; rake lightly for soil contact; water lightly twice daily until germination.
- ☐ Dispose of diseased plants: Bag and discard — do not compost — any plant material showing blight, rust, or mildew.
- ☐ Tool cleanup: Wipe down pruners and loppers with rubbing alcohol after handling diseased plants to avoid spreading pathogens.
One Weekend Now Saves Weeks Next Spring
None of these tasks requires specialized equipment or professional help. A good pair of gloves, a hori-hori, a pitchfork, and a few bags of mulch are all you need to check every item off this list in a single productive weekend. The payoff is concrete: fewer weeds germinating in April, a lawn that greens up faster, compost that’s ready to work into beds before the first planting date, and perennials that stored more energy through the fall because you removed the energy drain of spent blooms.
Gardens that look effortless in spring are almost always the result of unglamorous work done in late August. Do it now, and you’ll thank yourself in March.