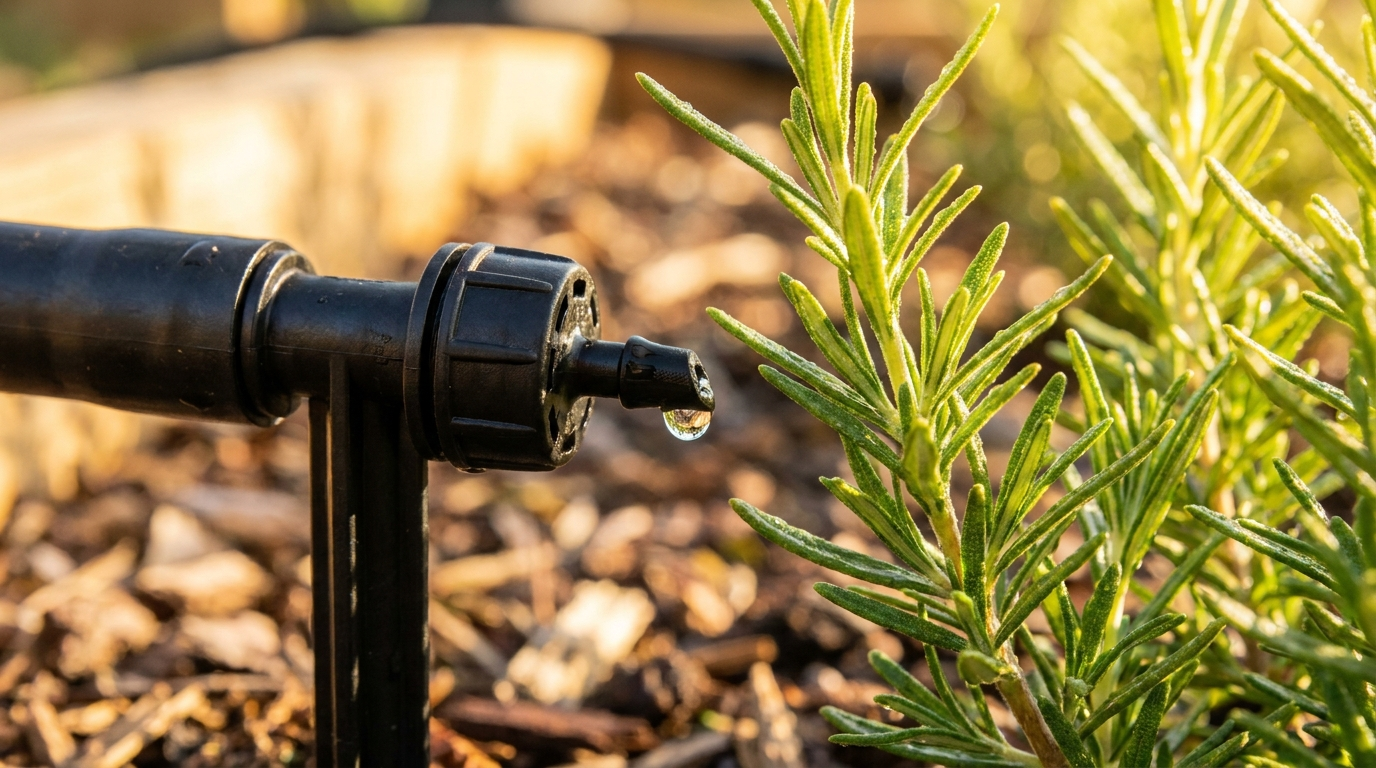
Learning how to install a drip irrigation system is essential for efficient watering in vegetable container gardens, drastically reducing water waste while targeting plant roots directly. Drip irrigation provides precise water delivery, which supports healthier vegetable growth and conserves water resources in small spaces.
Drip irrigation systems save water by minimizing evaporation and runoff, making them ideal for container vegetables that often require consistent moisture. The slow, steady delivery of water also reduces fungal diseases caused by wet foliage. This method supports sustainable gardening practices by lowering overall water use compared to overhead sprinklers.
To get started, you’ll need a few core parts and tools. A printable parts list simplifies preparation, typically including mainline tubing, emitters matched to plant needs, connectors, stakes, a backflow preventer, pressure regulator, and timer. Kits with these components vary in cost depending on quality and size; expect to spend approximately $50 to $150 for a typical container setup. Some ready-made kits simplify assembly, but custom components provide greater flexibility as explained in our container gardening guide.
Choosing the right kit requires considering emitter flow rates and container types. Kits designed specifically for containers often have lower flow emitters to avoid waterlogging and run-off. Comparing pros and cons of these kits helps avoid overwatering common in container vegetables. For example, pressure-compensating emitters provide uniform flow even on uneven terrain, useful for raised beds and hanging baskets.
Planning your drip layout effectively includes emitter spacing tailored to soil type and plant water needs. Tables and charts outline emitter flow rates—from 0.5 to 2 gallons per hour—and spacing recommendations to prevent dry spots or oversaturation. For precise installation, downloadable templates provide exact measurements and placement suggestions, enhancing watering efficiency and reducing guesswork.
The installation process involves several clear steps. Begin by attaching the system near an outdoor faucet, ideally incorporating a timer to automate watering. Connect a backflow preventer and pressure regulator to protect your water source, then run your mainline tubing along your containers. Inserting emitters directly into the tubing at planned points allows water to drip slowly to roots. For renters or those converting sprinkler systems, quick conversion kits and connectors enable switchovers without permanent fixtures, ensuring easy removal later.
Installing the tubing and emitters requires care to place drip points near the base of each container vegetable, including hanging baskets and raised beds. Stakes help secure tubing to prevent movement, and gentle testing ensures no leaks or clogs. Our watering schedules for vegetables page provides guidance on timing to optimize moisture without overwatering.
For timer settings, sample schedules depend heavily on vegetable type and climate. Tomato and pepper containers may need watering every other day during hot months, while leafy greens prefer daily, lighter waterings. Weekly adjustments based on weather and plant growth help conserve water and promote healthy harvests.
Maintenance involves flushing the lines periodically to prevent clogging, winterizing by draining systems before freezing temperatures, and troubleshooting using visual inspections for leaks or emitter blockages. Photos and detailed guides help identify common issues and fixes, ensuring system longevity.
Frequently asked questions address topics such as how to adjust emitter flow rates for different soil types and how to set up renter-friendly, non-permanent drip lines. These answers target long-tail queries gardeners often search for, enhancing practical knowledge and featured snippet visibility.
Extensive resources link users to trusted extension guides from universities, which provide scientific backing and additional irrigation strategies. For authoritative advice, visit resources like Iowa State’s drip irrigation guide and Colorado State University extension. For a broader gardening context, Washington State University offers an informative publication on drip irrigation benefits and methods.
Investing time in proper planning and installation of a drip irrigation system for vegetable containers pays off with healthier plants, water savings, and reduced manual labor. By following detailed parts lists, using efficient emitter spacing, and embracing timer automation, urban gardeners and hobbyists can enjoy robust, productive container gardens with minimal effort. Further information on soil preparation and potting mixes can be found in related articles such as our soil and potting mix preparation guide, complementing your irrigation setup for optimal results.