DIY Home Repairs You Can Do Yourself: Step-by-Step Guide to Common Fixes
Learning which DIY home repairs you can do yourself is one of the smartest investments in your home and your confidence. Whether you’re facing a running toilet, worn hardwood floors, or a leaky faucet, many common household problems don’t require calling an expensive professional. This guide walks you through the most impactful repairs you can tackle yourself, complete with practical steps, required tools, and honest guidance on when to call in the experts.
Why DIY Home Repairs Matter
The financial case for DIY is straightforward: a plumber charges $150–$300 just to show up, while you can replace a toilet yourself for the cost of the unit and an hour of your time. Beyond the money, tackling repairs yourself builds genuine home knowledge and confidence. You stop feeling helpless when something breaks.
That said, not every repair belongs in the DIY category. Electrical work, structural issues, and gas line repairs carry real safety risks. Knowing your limits is as important as knowing what you can handle.
Safety First: Essential Tools and Precautions
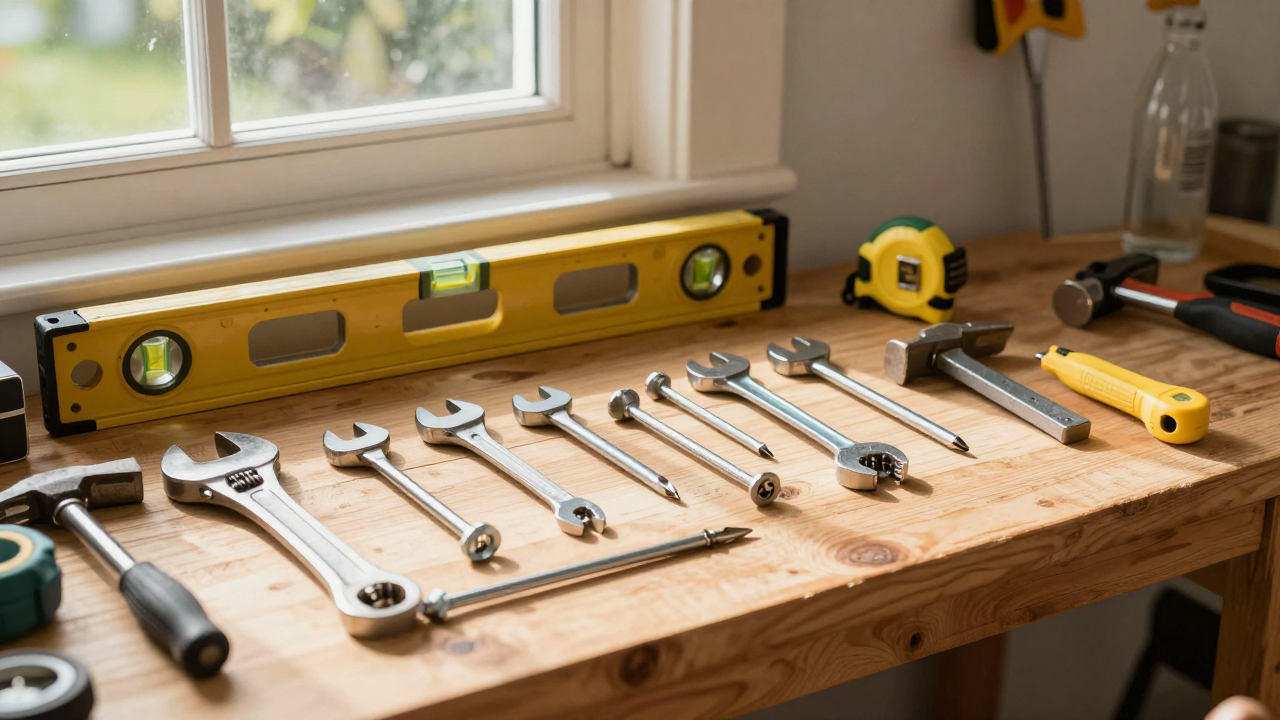
Before you start any repair, gather the right tools and take basic precautions. Most common repairs require only a basic toolkit:
- Adjustable wrench and socket set — for plumbing and fixture work
- Screwdrivers — Phillips and flathead in multiple sizes
- Hammer and rubber mallet — for gentle tapping and removal
- Level — for ensuring work is plumb and square
- Utility knife — for cutting and scraping
- Safety glasses and work gloves — non-negotiable for eye and hand protection
- Flashlight or headlamp — you’ll work in tight spaces
- Bucket and towels — water happens
Before starting any repair, turn off water at the main valve if working on plumbing, turn off power at the breaker if working on electrical fixtures, and clear your work area of tripping hazards. Watch tutorial videos specific to your model or issue before you begin—those five minutes save hours of frustration.
Toilet Replacement: Step-by-Step Instructions
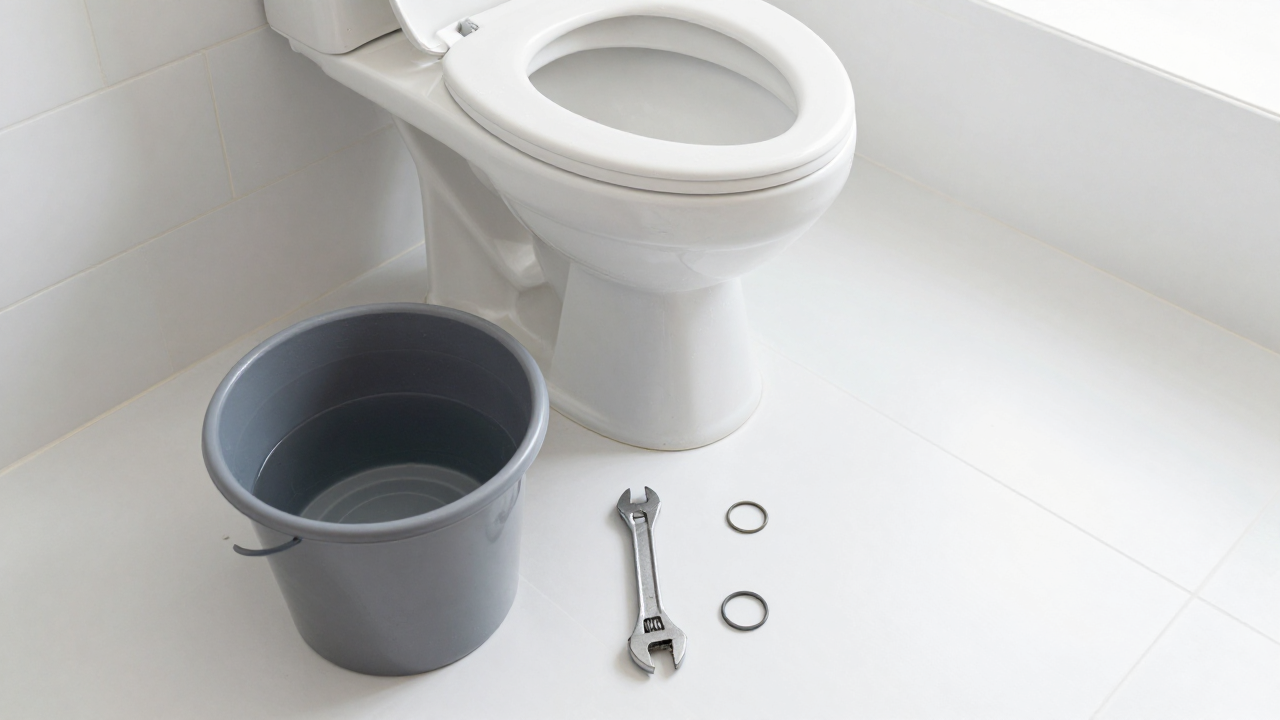
A running toilet wastes water and money. If the flapper or fill valve is worn, replacement is one of the easiest DIY wins. Here’s how to do it:
What You’ll Need
- Adjustable wrench
- Screwdrivers
- Bucket and towels
- New toilet repair kit (flapper, fill valve, or both) — $15–$40
The Process
- Turn off the water. Locate the shutoff valve behind the toilet and turn it clockwise. Flush to empty the tank.
- Remove the tank lid carefully. It’s ceramic and breaks easily. Set it on a towel.
- Identify the problem. If water runs into the bowl, the flapper (rubber seal at the tank bottom) is likely worn. If the tank refills constantly, the fill valve needs attention.
- For a flapper replacement: Drain the tank completely. Unclip the old flapper from the overflow tube and slide on the new one. Reattach the chain with slight slack—about ½ inch when the flapper is closed.
- For a fill valve replacement: Turn off water, flush, and use an adjustable wrench to unscrew the large nut under the tank. Lift out the old valve and insert the new one, tightening the nut hand-tight, then ¼ turn with the wrench.
- Turn water back on and test. The tank should fill and stop. Flush and listen—no running sound means you’ve fixed it.
If the toilet still runs after these steps, the issue is likely more complex (cracked tank, damaged bowl seal). That’s when you call a plumber for replacement.
Hardwood Floor Refinishing: The Complete Process
Refinishing hardwood floors restores their beauty and protects the wood. This is labor-intensive but entirely doable for a single room or hallway.
What You’ll Need
- Floor sander rental (drum or orbital) — $40–$80/day
- Sandpaper (80, 120, 150 grit)
- Polyurethane or water-based finish
- Paintbrushes or applicator pads
- Safety glasses, dust mask, and ear protection
- Vacuum with HEPA filter
The Process
- Prepare the room. Remove all furniture and close doors. Seal off adjacent rooms with plastic sheeting to contain dust.
- Sand in stages. Start with 80-grit, moving the sander in the direction of the wood grain. Make two passes, overlapping slightly. Vacuum thoroughly between grits.
- Progress to 120-grit, then 150-grit. Each pass smooths the scratches from the previous grit. This takes patience but produces a professional result.
- Fill gaps and nail holes. Use wood filler matched to your floor color. Sand smooth once dry.
- Final vacuum and tack cloth. Remove all dust with a vacuum, then wipe with a tack cloth to catch fine particles.
- Apply finish. Follow the product instructions for application method and drying time. Most floors need two coats. Allow 24–48 hours of curing before walking on the floor.
This project takes 2–3 days for a typical bedroom or living room. Rent the sander from a home improvement store—they’re straightforward to operate and the staff will show you the basics.
Lawn Repair and Restoration: Patching and Seeding
Dead patches, thin spots, and bare areas are common lawn problems. Overseeding and targeted patching fix most issues without replacing the entire lawn.
Spot Patching Bare Areas
- Loosen the soil. Rake the dead area vigorously to remove thatch and break up compacted soil to a depth of 2–3 inches.
- Add compost or topsoil. Spread ½ inch of quality compost over the area and work it in with the rake.
- Seed generously. Use a seed appropriate to your climate zone. Spread seed at the rate recommended on the bag, then rake lightly to ensure soil contact.
- Water consistently. Keep the patch moist (not soggy) for 2–3 weeks until grass is established. Water early morning to reduce disease risk.
For larger lawn issues, check out our guide on September lawn aeration and overseeding for a complete seasonal approach, or explore late summer lawn watering strategies to prevent problems before they start.
Overseeding Thin Lawns
- Mow short. Cut your lawn to 1.5 inches to allow seed contact with soil.
- Rough up the surface. Rake vigorously or use a dethatcher to expose soil.
- Spread seed evenly. Use a broadcast spreader for uniform coverage.
- Water and wait. Keep soil moist for 3 weeks. Germination takes 7–10 days depending on temperature.
Appliance Maintenance: Extending Equipment Life
Simple maintenance tasks extend the life of major appliances by years and prevent costly breakdowns. Most require only basic tools and 30 minutes of your time.
Refrigerator Coil Cleaning
Dust buildup on refrigerator coils forces the compressor to work harder, wasting energy and shortening the appliance’s life. Clean coils twice yearly:
- Unplug the refrigerator.
- Locate the coils (usually behind or beneath the unit).
- Vacuum with a brush attachment, then use a coil brush to remove stubborn dust.
- Plug back in and check that the unit runs quietly.
Washing Machine Drain Hose Inspection
A burst drain hose causes water damage. Inspect annually for cracks, bulges, or leaks. Replace hoses every 5 years as a preventive measure. New hoses cost $15–$30 and take 10 minutes to swap.
Dishwasher Filter Cleaning
Food particles clog the filter, reducing cleaning performance. Remove and rinse the filter monthly. Most filters pull straight out—check your manual for location.
HVAC Air Filter Changes
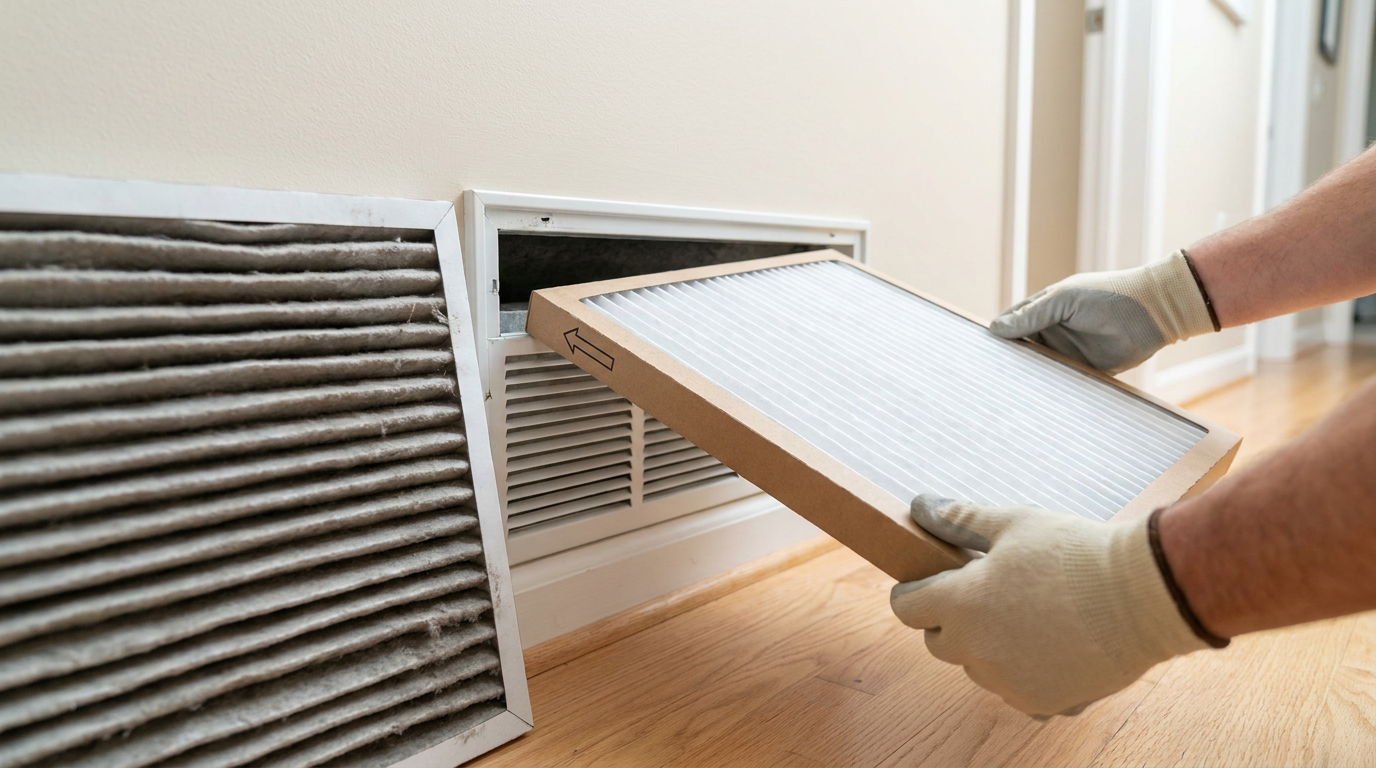
Change furnace and air conditioner filters every 1–3 months depending on use and pet presence. This is the single easiest maintenance task and dramatically improves efficiency. Learn the proper way to change your AC air filter to ensure correct installation.
Other High-Impact Repairs
Faucet Replacement
A dripping faucet wastes water and money. Many leaks are simple washers or cartridges, but if replacement is needed, it’s straightforward:
- Turn off water supply under the sink.
- Remove the old faucet by unbolting it from underneath.
- Install the new faucet following the manufacturer’s instructions.
- Connect supply lines and test for leaks.
Budget 1–2 hours and $50–$150 for a quality faucet. This beats paying a plumber $200+ for the same work.
Caulking and Sealing
Gaps around tubs, sinks, and trim allow water damage and air leaks. Caulking is one of the easiest cosmetic and protective upgrades:
- Remove old caulk with a utility knife or caulk removal tool.
- Clean the gap with a damp cloth and let dry completely.
- Apply new silicone or acrylic caulk with a caulk gun, using smooth, steady pressure.
- Smooth with a wet finger or caulk tool.
- Allow 24 hours to cure before exposing to water.
Weatherstripping Installation
Worn weatherstripping around doors and windows increases heating and cooling costs. Replacement takes minutes:
- Remove old weatherstripping by peeling it away.
- Clean the frame with a damp cloth.
- Cut new weatherstripping to length.
- Peel backing and press firmly into place, ensuring a tight seal.
For a broader energy efficiency approach, explore our guide to weatherizing an older home to identify all the air leaks costing you money.
Troubleshooting Common Mistakes
Problem: Water leaks after toilet repair. Check that the fill valve nut is tight (but not over-tightened, which cracks plastic). Verify the flapper chain has proper slack and the flapper seats completely.
Problem: Refinished floors are sticky or uneven. Sticky floors usually mean insufficient drying time between coats or high humidity during application. Uneven finish suggests the sander wasn’t moved smoothly or the final grit wasn’t fine enough. Sand lightly with 220-grit and reapply finish in thin coats.
Problem: New grass seed doesn’t germinate. Seed needs consistent moisture and soil contact. If soil is too compacted or too wet, germination fails. Loosen soil more thoroughly and reduce watering frequency if puddles form.
Problem: Caulk cracks or peels within months. Poor surface prep is the usual culprit. Old caulk residue, dirt, or moisture prevents adhesion. Remove all old material, clean thoroughly, and let dry completely before applying new caulk.
Problem: New faucet drips immediately after installation. Supply line connections are likely loose. Tighten nuts under the sink with a wrench, turning clockwise until snug. Don’t over-tighten—stop when resistance increases.
When to Call a Professional: Know Your Limits
Some repairs carry real risks or require specialized tools and licensing. Call a professional for:
- Electrical work beyond simple fixture replacement — rewiring, panel work, or anything involving main power
- Plumbing involving main water lines or sewage — these require permits and inspection
- Structural repairs — walls, foundations, roof framing
- HVAC work — refrigerant handling requires EPA certification
- Gas line work — gas leaks are dangerous
- Asbestos removal — common in older homes and requires certified contractors
Attempting these yourself creates liability, voids warranties, and can result in code violations that complicate future home sales. The money you save isn’t worth the risk.
Building Your DIY Skills Over Time
Start with simple, low-risk repairs like filter changes, caulking, and weatherstripping. Success builds confidence and teaches you how your home works. As you gain experience, tackle more complex projects like toilet repairs and faucet replacement.
Document what you learn. Take photos of how things look before you disassemble them. Watch videos multiple times. Join online forums where homeowners share solutions to the exact problems you’re facing. The DIY community is generous with knowledge.
Invest in quality tools gradually. You don’t need everything at once, but a good adjustable wrench, screwdriver set, and level will serve you for decades. Rent specialized equipment like floor sanders rather than buying—you’ll use it once every few years, if at all.
Finally, understand that mistakes are part of learning. A caulk line that isn’t perfect is still better than a gap that leaks. A toilet repair that takes three attempts teaches you more than reading about it. Each project completed builds real competence and saves money for the next one.
The repairs covered here—toilet maintenance, floor refinishing, lawn patching, appliance care, and fixture replacement—represent hundreds of dollars in contractor fees. More importantly, they represent control over your home and confidence that you can solve problems yourself. Start today with one small repair. You’ll be surprised how quickly you progress.