
How to Weatherize an Older Home Before Fall: Low-Cost Fixes That Cut Energy Bills
If you’ve been putting off the decision to weatherize your older home, fall is the deadline you shouldn’t miss. Once temperatures drop, every gap around a door frame, every drafty outlet on an exterior wall, and every uninsulated attic hatch quietly drains heat — and money — from your house. The good news: research shows that targeted small fixes can trim energy bills by around 10% and save homeowners hundreds of dollars annually. Most of the repairs in this guide cost under $30 and take less than an hour. Here’s exactly how to get it done before the cold sets in.
Step 1: Do a Simple Draft Audit
Before you buy a single roll of weatherstripping, spend 20 minutes finding where your home is actually losing air. This step costs nothing and prevents you from sealing the wrong spots.
On a windy day, light a stick of incense or hold a thin candle near the edges of every exterior door, window frame, and electrical outlet on an outside-facing wall. Watch the smoke or flame carefully. A steady drift toward the wall or a visible flicker means air is moving through a gap. Mark each problem spot with a small piece of painter’s tape so you don’t forget it later.
Common leak locations in older homes include:
- The gap between the door frame and the wall (especially at corners)
- The meeting rail where two window sashes come together
- The bottom edge of exterior doors
- Electrical outlets and switch plates on exterior walls
- The attic hatch perimeter
- Where pipes or wires enter through exterior walls
Take a quick photo of each flagged spot. You’ll use this as your shopping list before heading to the hardware store.
Step 2: Weatherstrip Doors and Windows
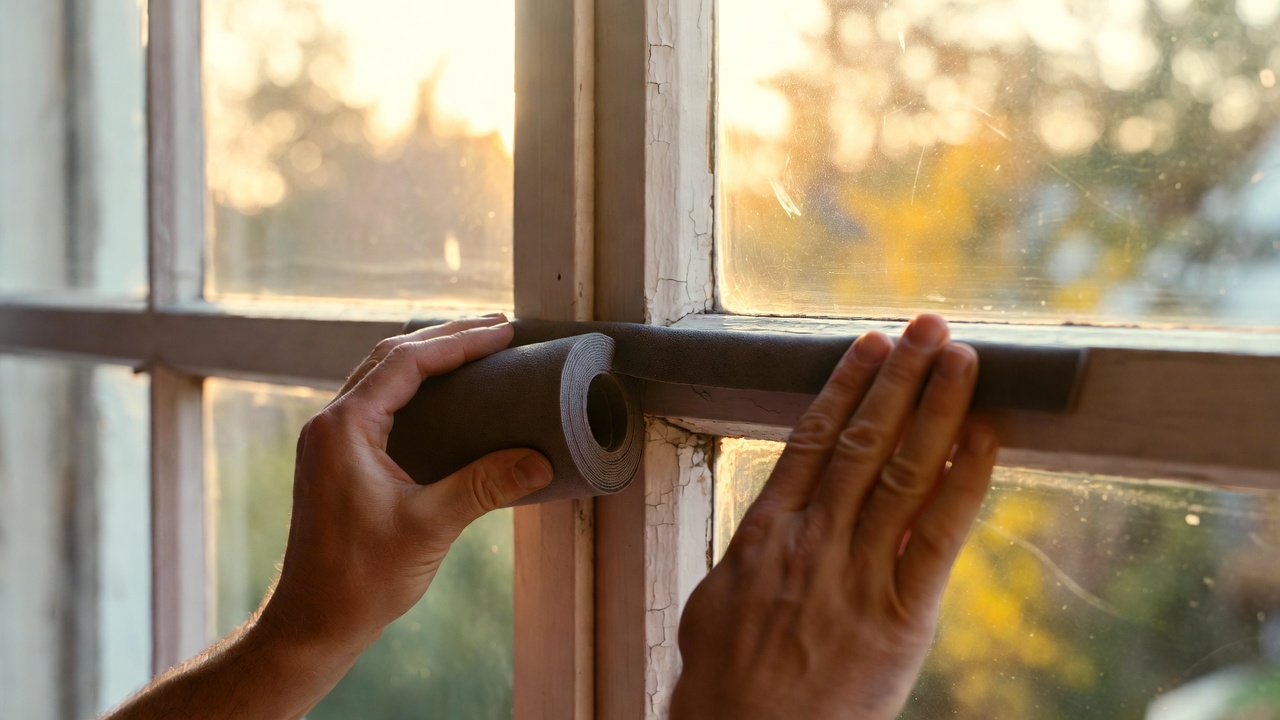
Weatherstripping is the single highest-return task in this entire list. A drafty door or window can have a gap equivalent to a small hole punched straight through the wall — and it’s almost always fixable in under 30 minutes.
Choosing the Right Type
- Self-adhesive foam tape: Best for irregular gaps on window sashes and the tops and sides of door frames. It compresses to fill uneven surfaces. Cost: $4–$8 per roll, enough for 2–3 openings. Lifespan: 1–3 years before it flattens and needs replacing.
- V-strip (tension seal) weatherstripping: A folded strip of plastic or metal that springs open to seal the gap between a door or window and its frame. More durable than foam — it typically lasts 5–10 years. Best for the sides of double-hung windows and the hinge side of doors. Cost: $8–$15 per pack.
- Reinforced door-frame seal (compression strip): A rigid carrier with a flexible bulb or fin. Ideal for the top and sides of exterior doors that close firmly. Cost: $10–$20 for a full door kit.
Installation Tips
Clean the surface with rubbing alcohol before applying any adhesive product — dust and old paint residue will cause it to peel within weeks. For V-strip on a window channel, cut the strip to length with scissors, press the flat side into the channel, and run a fingernail along the fold to open the V before closing the window. For foam tape on a door frame, apply it to the stop (the small ridge the door closes against), not the frame face.
Realistic cost per opening: $5–$15 depending on type and door/window size.
Step 3: Install or Replace Door Sweeps
The gap at the bottom of an exterior door is often the single largest air leak in an older home. A worn or missing door sweep can leave a gap of ¼ inch or more — enough to see daylight under the door when it’s closed.
Choosing the Right Sweep
- Automatic drop sweep: Raises when the door opens, drops to seal when it closes. Best for doors with uneven thresholds. Cost: $20–$40.
- Adhesive-backed brush sweep: A strip of nylon bristles on a self-stick backing. Easiest to install, works well on smooth thresholds. Cost: $8–$15.
- Screw-on aluminum sweep with vinyl fin: The most durable option for high-traffic exterior doors. Requires a drill and four screws. Cost: $10–$20.
Installation Walkthrough (Screw-On Sweep)
- Close the door and measure the width of the door slab (not the frame) at the bottom.
- Cut the sweep to length with a hacksaw if needed.
- Hold the sweep against the interior face of the door bottom so the vinyl fin just touches the threshold — you want light contact, not drag.
- Mark the screw holes with a pencil, pre-drill pilot holes to avoid splitting older door material, and drive the screws.
- Open and close the door several times to confirm it swings freely and the fin makes full contact with the threshold.
Replace any sweep where the vinyl fin is cracked, compressed flat, or missing sections. Even a new sweep installed on a warped older door may need a second strip of foam tape along the top edge of the sweep channel to close side gaps.
Step 4: Add Window Film or Rope Caulk
Single-pane windows in older homes are notoriously inefficient — they can account for 25–30% of a home’s heat loss. Full window replacement is expensive. These two options cost almost nothing and can be removed in spring without damaging the window.
Temporary Interior Window Film
Shrink film kits (sold under brands like 3M and Duck) use double-sided tape applied to the interior window frame and a sheet of thin plastic film that you shrink taut with a hair dryer. When done correctly, the film is nearly invisible and creates a dead-air insulating layer between the film and the glass. One kit covers 3–5 standard windows for about $15–$25. The film peels off cleanly in spring.
Key tip: Apply the double-sided tape to a clean, dry frame. If the frame has old paint that’s peeling, press the tape firmly and add a small piece of painter’s tape at each corner to prevent the tape from lifting mid-winter.
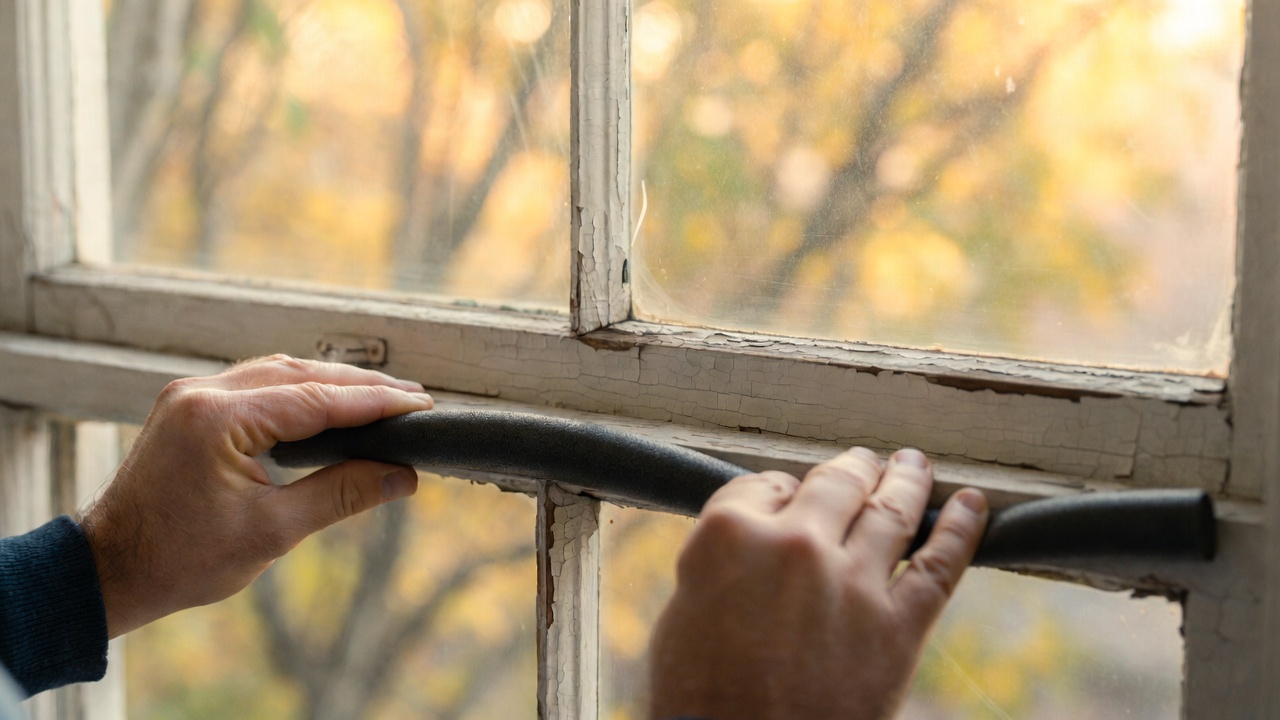
Removable Rope Caulk
Rope caulk is a soft, putty-like cord you press by hand into the gap between the window sash and the frame. It requires no tools, leaves no residue, and peels off in one piece when you want to open the window again in spring. A single roll costs $3–$6 and covers 35–45 linear feet. It’s ideal for older double-hung windows where the sashes rattle or where you can feel cold air at the meeting rail.
Neither of these options replaces proper window replacement long-term, but as a seasonal fix while you budget for bigger upgrades, they’re hard to beat on a cost-per-BTU-saved basis.
Step 5: Insulate the Attic Hatch
The attic hatch is one of the most overlooked heat-loss points in an older home. Most pull-down attic stairs and simple hatch covers have zero insulation and no weatherstripping — meaning you essentially have a hole in your ceiling leading directly to an unheated space.
Why It Matters
Heat rises. A bare attic hatch acts like a chimney flue — warm air from your living space flows upward through the gaps and into the attic continuously. In a two-story home, this effect is even more pronounced due to the stack effect, where pressure differences between floors accelerate air movement.
The Fix: Foam-Board Cover
- Measure the hatch opening from the attic side.
- Cut a piece of rigid foam board (polyisocyanurate or XPS) to fit snugly inside the hatch frame. Use 2-inch-thick foam for an R-value of approximately R-10 to R-13.
- If the hatch is a simple plywood panel, glue the foam directly to the attic-facing side with foam-compatible adhesive or construction adhesive.
- Add self-adhesive foam weatherstripping around the perimeter of the hatch frame so the cover compresses against it when closed.
- For pull-down stair units, consider a pre-made insulated attic stair cover (available for $40–$80) that fits over the entire unit like a tent from the attic side.
Material cost: $10–$20 for the DIY foam-board approach; $40–$80 for a pre-made stair cover. Either option pays for itself in a single heating season in most climates.
Step 6: Seal Electrical Outlet Gaskets on Exterior Walls
This is the fastest five-minute fix on this entire list, and it’s one most homeowners have never heard of. Electrical outlets and switch plates on exterior walls have a direct air path from the wall cavity — which connects to the outside — straight into your living space.
How to Do It
- Turn off the circuit at the breaker panel.
- Remove the outlet or switch cover plate with a flathead screwdriver.
- Press a pre-cut foam gasket (sold in packs of 10–20 at any hardware store) over the outlet or switch. These are die-cut to fit standard single, double, and GFCI outlets exactly.
- Replace the cover plate and restore power.
That’s it. Total time per outlet: 3–5 minutes. Total cost: under $5 for a pack that covers 10–20 outlets. For older homes with many exterior-wall outlets, this is one of the highest-return tasks per dollar spent in this entire guide.
If you want to go further, you can also add child-safety plug covers to any unused outlets — they provide an additional minor air barrier at essentially zero cost.
Cost vs. Savings Summary
Here’s a quick breakdown of what each fix costs versus what you can reasonably expect to save. Savings estimates are based on average U.S. energy costs and typical older-home conditions — your results will vary based on climate, home size, and current energy prices.
| Fix | Material Cost | Time to Complete | Estimated Annual Savings |
|---|---|---|---|
| Draft audit (candle/incense) | $0 | 20–30 min | N/A (guides all other savings) |
| Weatherstrip doors & windows | $5–$15 per opening | 20–30 min per opening | $50–$150+ |
| Install/replace door sweeps | $10–$40 per door | 15–30 min per door | $30–$80 |
| Window film or rope caulk | $3–$25 total | 10–20 min per window | $20–$60 per window |
| Insulate attic hatch | $10–$80 | 30–45 min | $50–$150 |
| Outlet foam gaskets | $3–$5 per pack | 3–5 min per outlet | $10–$30 |
Total estimated investment for a full treatment: $75–$200 for a typical older home.
Total estimated annual savings: $150–$400+, depending on home size, climate, and current air-sealing condition.
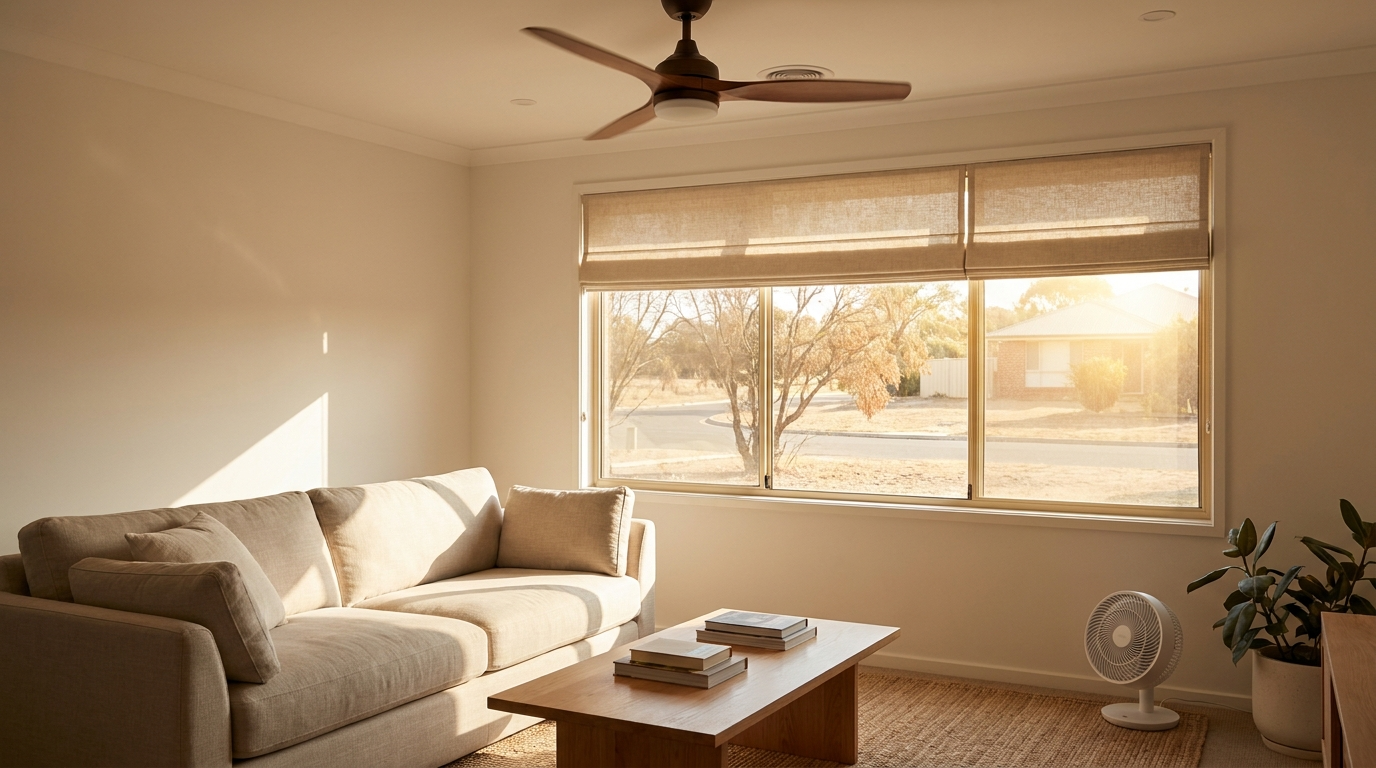
If you’re also looking to cut costs during the warmer months, see our guide on late-summer cooling fixes that cut utility bills — many of the same principles apply in reverse.
Your Fall Weatherizing Checklist
Use this checklist to track your progress. Print it out or save it to your phone and work through the tasks one weekend at a time.
- ☐ Draft audit complete — walked the perimeter with candle or incense; all leaks marked with painter’s tape
- ☐ Weatherstripping applied — all exterior doors and drafty windows treated with appropriate foam tape or V-strip
- ☐ Door sweeps installed or replaced — no visible gap under any exterior door; vinyl fin makes full contact with threshold
- ☐ Window film or rope caulk applied — single-pane or rattling windows sealed for the season
- ☐ Attic hatch insulated — foam-board cover cut and fitted; weatherstripping added to hatch frame perimeter
- ☐ Outlet gaskets installed — all exterior-wall outlets and switch plates fitted with foam gaskets
None of these tasks require a contractor, special skills, or a large budget. Done together before the first cold snap, they add up to a meaningfully warmer, quieter home and a noticeably lower heating bill by December. Start with the draft audit this weekend — the rest follows naturally once you know exactly where your home is losing heat.
Looking for more quick weekend wins around the house? Check out our roundup of effortless DIY home projects you can complete in 30 to 60 minutes.
One thought on “How to Weatherize an Older Home Before Fall: Low-Cost Fixes That Cut Energy Bills”