Swapping Builder-Grade Hardware for an Instant Home Upgrade: A Practical Weekend Project
Swapping builder-grade hardware is one of the fastest, cheapest ways to transform how your home looks and feels. That cheap chrome door handle, basic light switch plate, and dated fixture? They’re screaming “builder-grade” to anyone who walks through your door. The good news: you can replace them all in a weekend for under $100, with nothing but basic tools and a little confidence. No contractor needed.
What Is Builder-Grade Hardware? Why It Looks Cheap
Builder-grade hardware refers to the low-cost, mass-produced fixtures and fixtures developers install during construction to hit a price point. Think thin metal door handles, plastic switch plates, and basic brass or chrome light fixtures that feel flimsy and look generic.
The problem isn’t just aesthetics—it’s durability and feel. Builder-grade hardware often:
- Uses thin, lightweight metal that feels hollow when you touch it
- Comes in outdated finishes like shiny brass or hollow chrome
- Wears quickly, showing fingerprints and tarnish within months
- Lacks the weight and craftsmanship of upgraded alternatives
- Makes rooms feel unfinished, even if everything else is clean
Upgrading to mid-range hardware—think matte black, brushed nickel, or oil-rubbed bronze finishes—instantly signals quality and intentionality. The difference is noticeable the moment you touch a solid door handle or flip a quality switch plate.
Tools and Materials You’ll Need
Before you start, gather these essentials. You likely already own most of them:
- Screwdrivers: Phillips and flathead (or a multi-bit driver)
- Drill/driver: Optional, but speeds up screw removal
- Adjustable wrench or hex key set: For door handle set screws
- Needle-nose pliers: Helpful for removing old hardware
- Painter’s tape: To protect surrounding surfaces
- Towel or drop cloth: To catch small parts and protect floors
- Voltage tester: Essential for electrical work (under $15)
- New hardware: Door handles, switch plates, light fixtures
That’s it. You don’t need anything fancy.
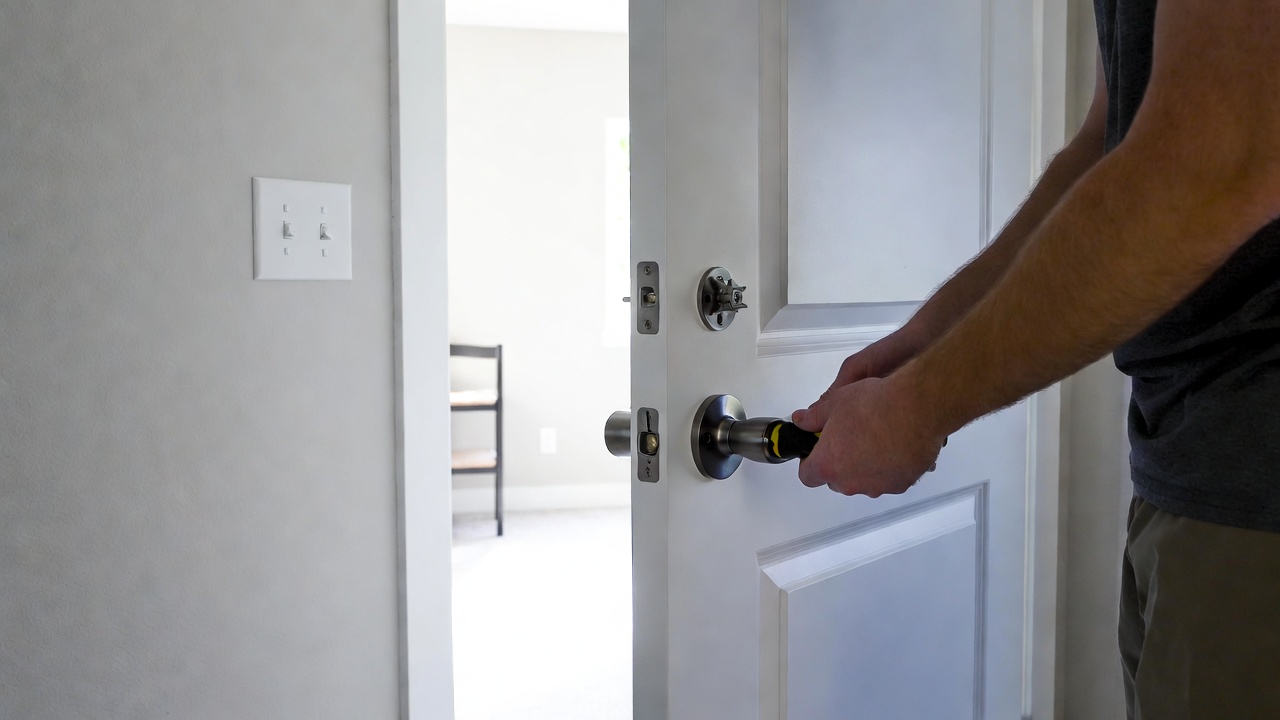
Step-by-Step Guide to Replacing Door Handles
Door handles are the most visible hardware in your home, so start here for maximum impact.
Step 1: Remove the old handle
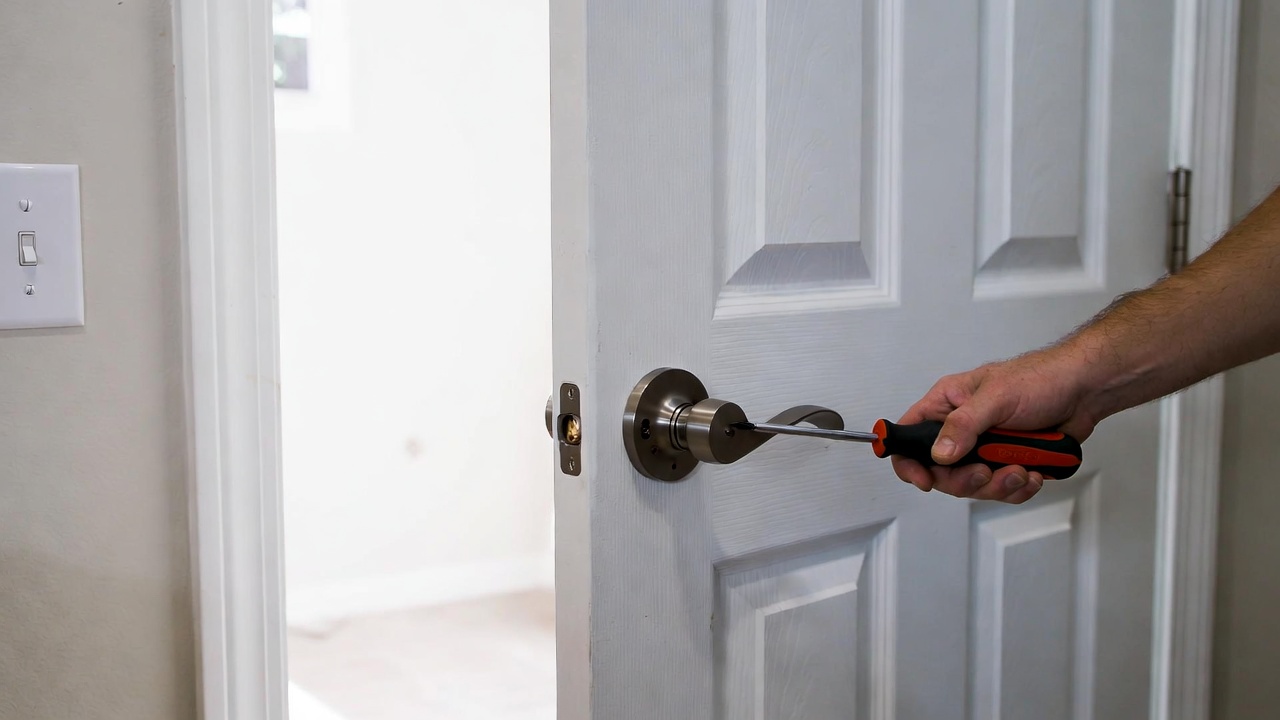
On the interior side of the door, look for a small screw or set screw (usually on the handle shaft or under a small cap). Unscrew it. The handle should slide off. If there’s a faceplate or escutcheon, unscrew those too.
Step 2: Remove the interior mechanism
The lock mechanism (spindle and latch assembly) is held in place by screws from the interior side. Remove these screws and pull the mechanism out from the edge of the door.
Step 3: Check the hole size
Standard interior door handles fit 2.375-inch holes. Measure to confirm your new hardware matches. If you’re upgrading to a different style, you may need to fill old holes—use wood filler and sand flush before installing new hardware.
Step 4: Install the new latch assembly
Insert the new latch mechanism into the edge of the door, align the screw holes, and secure from the interior side. Make sure the latch bolt operates smoothly.
Step 5: Install the new handle
Slide the interior handle onto the spindle, align the faceplate, and tighten the set screw. Install the exterior handle the same way. Test the operation—it should feel smooth and solid.
Pro tip: Replace handles on all interior doors at once for a cohesive look. It takes 10 minutes per door once you get the rhythm down.
How to Swap Out Switch Plates Easily
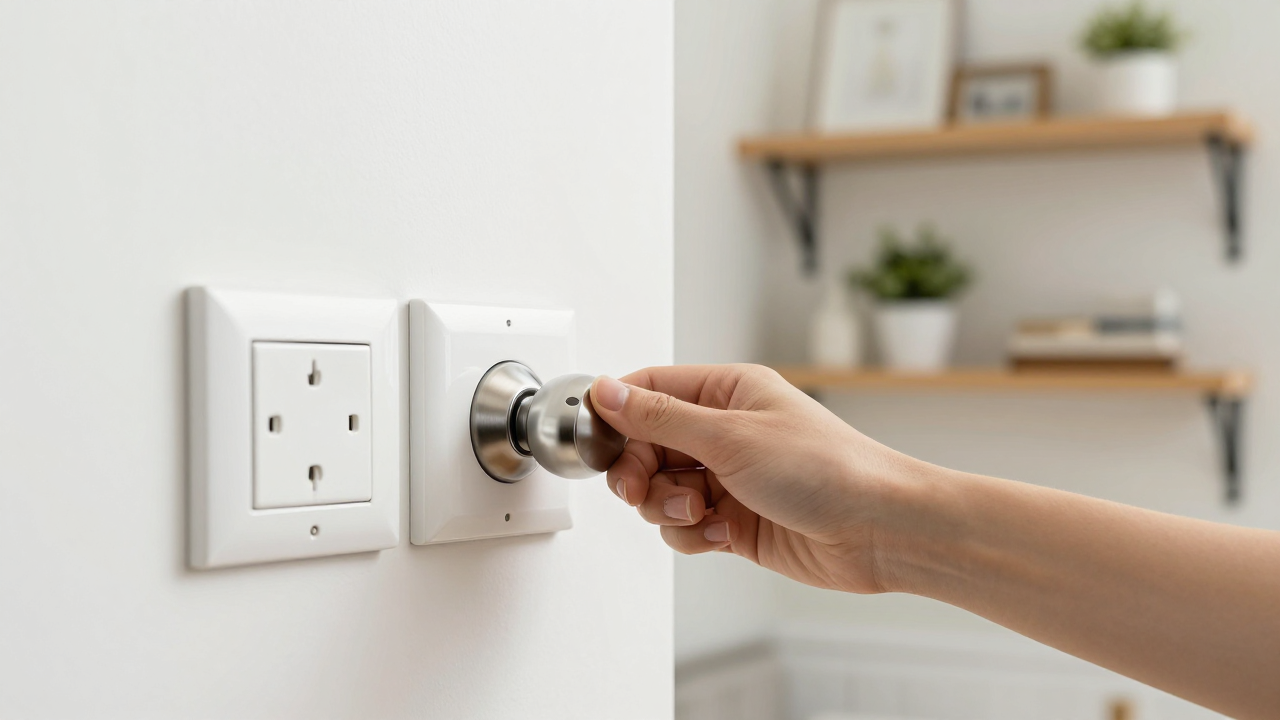
Switch plate upgrades are the easiest hardware swap you can do—and they’re surprisingly impactful.
Step 1: Turn off the power
At the breaker, flip off the circuit controlling that switch. Use a voltage tester to confirm the power is off before touching anything electrical.
Step 2: Remove the old plate
Unscrew the single screw holding the plate to the wall. It should pull off easily.
Step 3: Install the new plate
Align the new plate over the switch and screw it in. The screw should be snug but not over-tightened—you can crack plastic plates.
Step 4: Turn the power back on
Flip the breaker back and test the switch.
That’s it. Seriously. Switch plates take 30 seconds each, and upgrading from basic plastic to brushed metal or ceramic makes a noticeable difference in how polished your space feels.
Upgrading Light Fixtures: Simple Swaps for Big Impact
Light fixtures anchor a room’s style. Replacing builder-grade fixtures with something more intentional transforms the entire space.
Step 1: Turn off the power
At the breaker, flip off the circuit controlling the fixture. Use a voltage tester to confirm power is off.
Step 2: Remove the old fixture
Most builder-grade fixtures are held by a simple bracket and a few wire nuts. Unscrew the mounting bracket, carefully lower the fixture, and disconnect the wires (usually black to black, white to white, and a ground wire).
Step 3: Install the mounting bracket for the new fixture
The new fixture comes with its own bracket. Install it using the existing holes in the electrical box (or drill new ones if needed).
Step 4: Connect the wires
Match wire colors and twist together, then secure with wire nuts. Tuck wires into the electrical box carefully.
Step 5: Attach the fixture and trim
Slide the fixture body onto the bracket, secure with screws, and install the shade or trim ring.
Step 6: Install bulbs and test
Turn power back on and test. The fixture should be secure and operate smoothly.
Best fixture swaps for impact: Pendant lights over kitchen islands, brushed gold or matte black vanity lights in bathrooms, and modern flush-mount fixtures in bedrooms and hallways. Even builder-grade chandeliers can be replaced with something sleeker and more contemporary.
Budget Breakdown: Achieving the Upgrade Under $100
Here’s how to maximize impact while staying under budget:
- Door handles (6 doors): $30–$50. Mid-range options from big-box stores offer solid quality without premium pricing.
- Switch plates (8–10 plates): $15–$25. Brushed metal or ceramic plates cost only slightly more than basic plastic.
- Light fixtures (2–3 fixtures): $30–$50. Focus on high-visibility areas like entryways and kitchens.
- Miscellaneous (wire nuts, caulk, touch-up paint): $5–$10
Total: $80–$135
To stay under $100, prioritize: Replace handles on the front door and main interior doors first. Swap out switch plates in living areas and bedrooms. Upgrade one or two key light fixtures (entryway and kitchen are highest-impact). This approach delivers the biggest visual transformation for the money.
Tips for a Smooth DIY Weekend Project
A few practical moves will make this project faster and less frustrating:
- Buy all hardware before you start. Nothing derails momentum like a trip to the store mid-project.
- Take photos of the old hardware before removal. If you forget how something was wired or assembled, you’ll have a reference.
- Lay out all parts on a towel in order. Screws and small parts disappear on carpet. Keep them organized by location.
- Test fit before fully installing. Make sure new hardware aligns properly and operates smoothly before tightening everything down.
- Use painter’s tape around work areas. It protects walls and doors from dings and scratches.
- Start with the easiest swaps (switch plates), then move to handles, then fixtures. You’ll build confidence as you go.
- Don’t rush electrical work. If you’re uncomfortable with wiring, hire an electrician for light fixtures. It’s worth the $100–$200 to get it right.
Before and After Visual Inspiration
The transformation is real. Homes with builder-grade hardware feel generic and temporary. Upgraded hardware signals intentionality and quality. The difference isn’t subtle—it’s the first thing people notice when they enter your home.
Consider upgrading to finishes that match your overall aesthetic: matte black for modern or industrial spaces, brushed nickel for contemporary homes, oil-rubbed bronze for traditional or transitional designs, and matte gold for warm, eclectic interiors.
Pair hardware upgrades with other quick wins for even bigger impact. If you’re already tackling hardware, consider pairing it with other quick DIY upgrades like fresh paint, updated wall decor, or improved lighting. You can also explore affordable home products that instantly elevate your space. These projects compound to create a genuinely transformed space.
Conclusion: The Value of Small Upgrades for Big Visual Impact
Swapping builder-grade hardware isn’t glamorous, but it’s one of the highest-ROI home improvements you can make. For under $100 and a weekend of work, you’ll eliminate the “builder-grade” feel that makes new homes look generic and temporary.
The best part? The upgrade is permanent. Unlike paint or decor, quality hardware lasts for years. Every time you touch a solid door handle or flip a quality switch, you’ll feel the difference. Your home will look more intentional, more expensive, and more like yours.
Start this weekend. Pick three doors, ten switch plates, and one light fixture. You’ll be done by Sunday afternoon, and your home will feel noticeably more polished. That’s the power of smart, practical upgrades.