How to Design a Functional Backyard Entertaining Space: Seating, Lighting & Layout
Learning how to design a functional backyard entertaining space transforms your outdoor area from underutilized square footage into a destination for gatherings. The difference between a backyard that hosts great parties and one that feels awkward lies in three core elements: strategic seating arrangement, layered ambient lighting, and intentional traffic flow. This guide walks you through each component so you can create an outdoor entertaining zone that’s both comfortable and practical.
Why Layout and Planning Matter for Outdoor Entertaining
Before you buy a single piece of furniture, understand that outdoor entertaining success depends on planning. A poorly laid-out space forces guests to navigate around obstacles, creates dark corners, and leaves some seating isolated. A well-planned backyard keeps people moving naturally, encourages conversation, and makes hosting feel effortless.
The best entertaining spaces feel intentional. Every seating area, light fixture, and pathway serves a purpose. This reduces stress when you’re hosting and maximizes enjoyment for your guests.
Assessing Your Space: Measuring, Focal Points, and Traffic Patterns
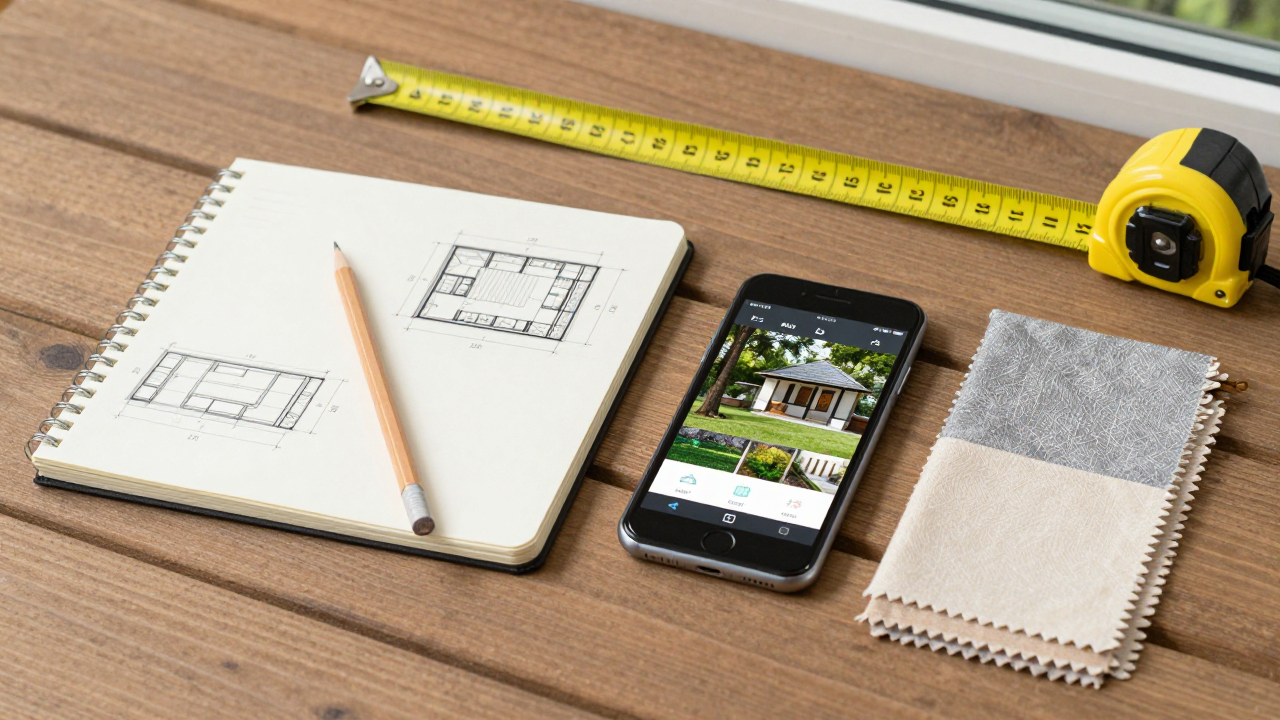
Start with a tape measure and a piece of graph paper. Measure your entire backyard, noting the dimensions of your patio, deck, or lawn area where entertaining will happen. Include permanent features: fences, trees, existing structures, and utility boxes.
Identify natural focal points. These might be a fire pit, water feature, view, or architectural element. Your entertaining layout should orient toward these focal points rather than away from them.
Walk your backyard as a guest would. Note where people naturally congregate. Observe sun patterns throughout the day—where does shade fall in late afternoon? Where does the evening sun create glare? Understanding these patterns informs both furniture placement and lighting decisions.
Check for existing traffic patterns. Is there a natural path from the house to the backyard? Do guests naturally walk toward one corner? These patterns indicate where entry and exit points should be, and where you should avoid placing obstacles.
Strategic Seating Arrangement: Fixed vs. Flexible Options
Seating is the anchor of any entertaining space. You have two approaches: fixed seating (built-in benches, permanent conversation pits) and flexible seating (moveable chairs, modular pieces).
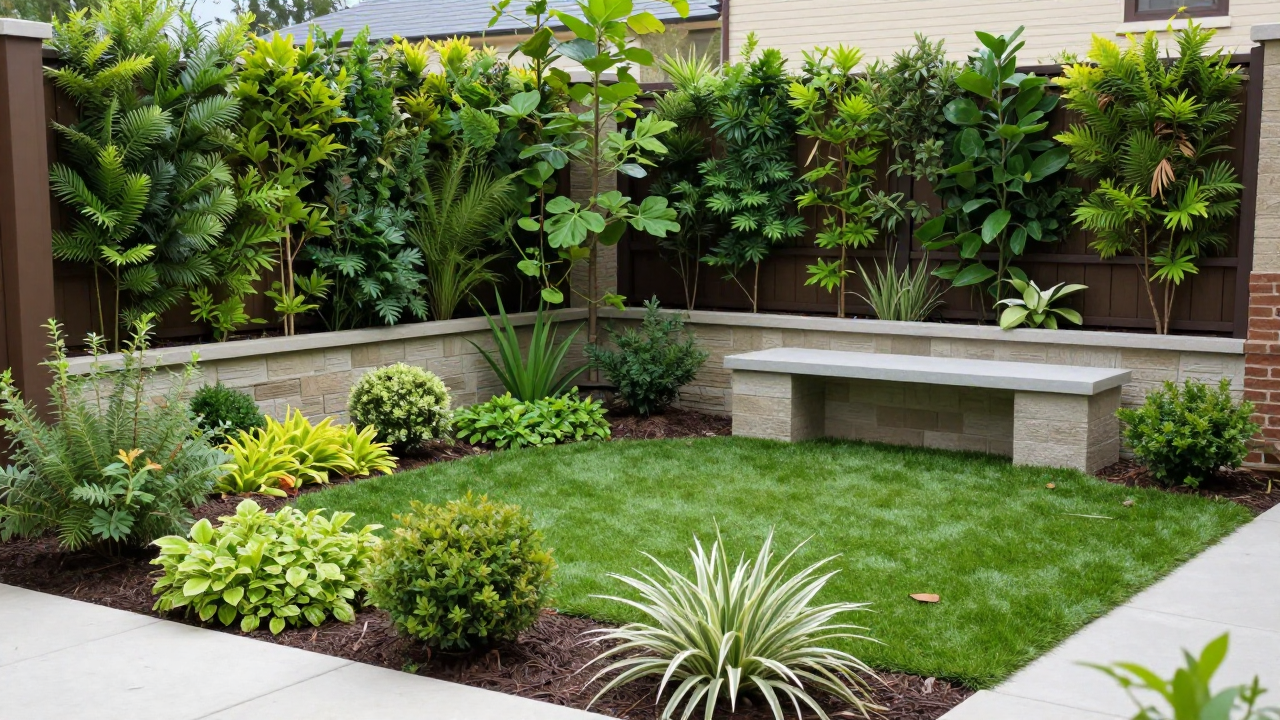
Fixed seating works best for small backyards or when you have a clear, permanent entertaining zone. Built-in benches around a fire pit or along a patio edge define the space and require no rearrangement. The downside: you’re committed to that layout.
Flexible seating gives you adaptability. Mix outdoor chairs, benches, and side tables so you can reconfigure for different gatherings. A 20-person dinner party needs a different layout than an intimate cocktail hour.
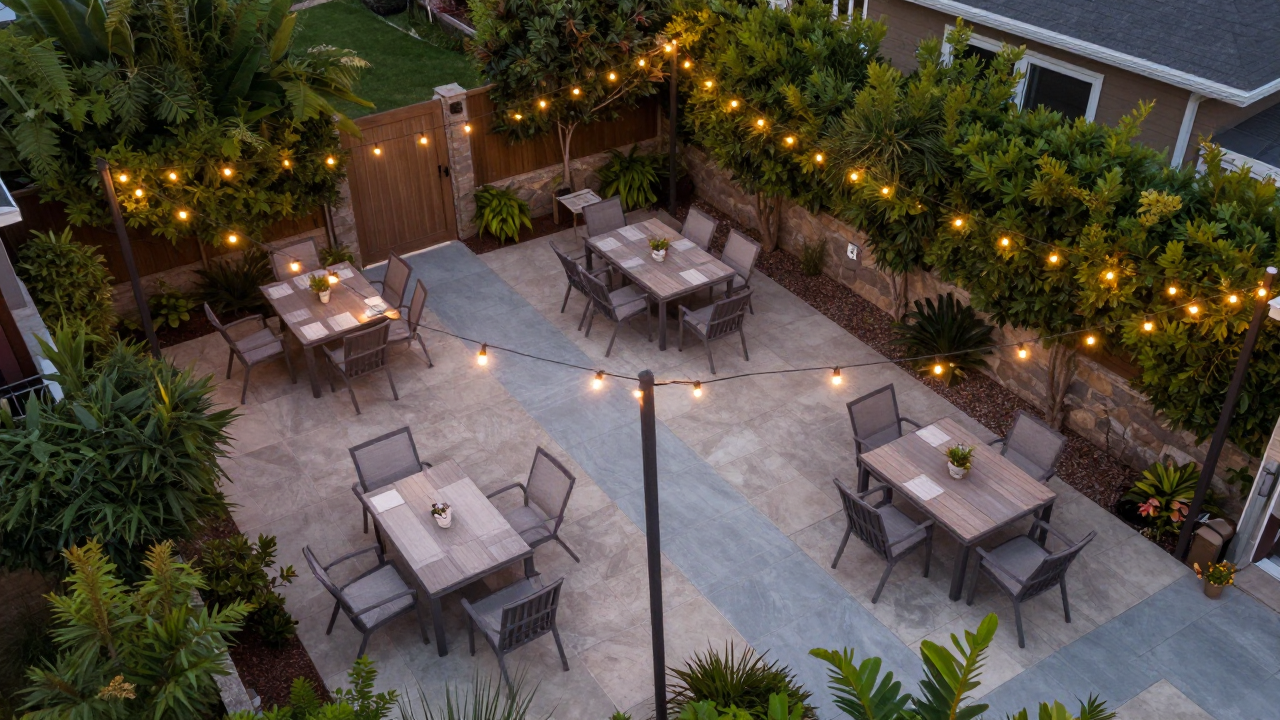
Create conversation zones by grouping seating in clusters of 4-6 chairs facing each other. This encourages interaction. Leave 18-24 inches between seats so people can move comfortably. Avoid long single-file rows of chairs—they feel formal and discourage conversation.
Include at least one high-top or bar-height seating option. This gives guests variety and creates visual interest. Mix seating heights throughout your space.
Prioritize guest comfort. Outdoor furniture should have cushions or padding. Backrests matter more than you’d think—backless benches get uncomfortable after 30 minutes. Include side tables within arm’s reach of seating so guests have a place for drinks and plates.
Ambient Lighting Design: Layered Lighting and Fixture Placement
Lighting transforms a backyard from unusable after sunset to an extension of your living space. The key is layering: combine overhead ambient light, task lighting, and accent lighting.
Ambient lighting is your base layer. String lights, overhead fixtures, or uplighting provide general illumination. Aim for enough light to move safely, but not so much that it feels like a parking lot. Warm white bulbs (2700K color temperature) create a welcoming atmosphere better than cool white or daylight.
Task lighting focuses on functional areas: a dining table needs brighter light than a lounge area. Install fixtures 7-8 feet above dining surfaces. Use dimmers where possible so you can adjust intensity for different times of evening.
Accent lighting highlights architectural features, plants, or focal points. Uplighting a tree or wall-washing a fence adds depth and visual interest without creating glare.
Place fixtures strategically to avoid glare in seating areas. Lights should illuminate the space, not shine directly into guests’ eyes. Use diffusers or indirect placement to soften harsh light.
Consider energy-efficient options. LED string lights and solar-powered fixtures cut utility costs while providing adequate illumination. For budget-conscious projects, explore budget-friendly DIY decor projects you can complete in one day to add lighting elements yourself.
Install lights on timers or smart controls so you’re not manually switching them on and off. This also allows you to adjust lighting as the evening progresses—brighter during dinner, dimmer during conversation.
Creating Effective Traffic Flow: Pathways and Avoiding Bottlenecks
Poor traffic flow kills entertaining. Guests should move naturally between the house, seating areas, and any bar or food station without squeezing through tight spaces or disrupting conversations.
Create clear pathways at least 3-4 feet wide. These don’t need to be formal—they can be defined by furniture arrangement or subtle pavers—but they should be obvious. Avoid placing seating directly in these pathways.
Identify entry and exit points. The primary entry is usually from the house. Secondary exits might include gates or side paths. Make sure these points are unobstructed and clearly accessible.
Prevent bottlenecks around high-traffic areas like a beverage station or restroom access. If your bar is in a corner, ensure people can approach and leave without blocking others. Leave at least 4 feet of clearance in front of any functional station.
Stagger seating groups so they’re not all in one line. This creates natural traffic lanes and makes the space feel larger and less crowded.
Zoning Your Entertaining Area: Dining, Lounging, and Beverage Stations
Divide your backyard into functional zones. This doesn’t require physical barriers—it’s about intentional placement and purpose.
Dining zone: Place your dining table in a well-lit, relatively flat area close to the house for easy food transport. Orient it toward a focal point or view. Allow 36 inches of clearance on all sides so guests can pull chairs back and move around the table.
Lounge zone: Create a separate area for post-dinner conversation with comfortable seating, side tables, and good lighting. This can be lower, softer seating than the dining area.
Beverage/bar station: Position this between the house and entertaining areas for easy access. If you don’t have a built-in outdoor kitchen, a small table or cart works. Ensure it’s accessible without guests walking through seating areas.
Fire or focal point zone: If you have a fire pit or water feature, orient seating toward it. This becomes a natural gathering point.
Use subtle visual separation—a change in flooring material, a step up or down, or strategic plantings—to define zones without creating hard barriers. This keeps the space feeling open while providing structure.
Furniture Selection: Durable Materials, Scale, and Arrangement
Outdoor furniture must withstand weather while looking good. Choose materials based on your climate and maintenance tolerance.
Teak and hardwoods age beautifully but require periodic sealing. They’re durable and expensive.
Aluminum and metal frames resist rust and require minimal maintenance. They’re lightweight and affordable.
Wicker and rattan look inviting but need protection from harsh weather. Use covers or store seasonally in wet climates.
Concrete and stone are permanent and low-maintenance but heavy and immovable.
Scale matters. Oversized furniture makes small backyards feel cramped; undersized pieces make large spaces feel empty. Measure your space and choose pieces proportional to it. A dining table should be 36-42 inches wide; chairs should be 24-30 inches wide.
Mix furniture styles and heights for visual interest. Combine dining chairs with lounge seating, add ottomans or poufs for flexibility, and include side tables at varying heights. This prevents the space from feeling too uniform.
Arrange furniture to define spaces without blocking views or pathways. Angle seating groups slightly toward each other to encourage conversation. Leave enough space between pieces that people don’t feel crowded.
Practical Finishing Touches: Shade Solutions and Weather Protection
Shade and weather protection extend your entertaining season and improve comfort. Options range from simple to elaborate.
Umbrellas: Portable and affordable. Position them over dining tables or lounge seating. They don’t provide complete coverage but offer quick relief from sun or light rain.
Shade sails: Fabric panels stretched between posts create modern-looking shade. They’re more permanent than umbrellas but less expensive than structures.
Pergolas and arbors: These provide partial shade and architectural interest. Vining plants add natural cooling and privacy.
Retractable awnings: Motorized awnings offer flexibility—extend them when needed, retract them to enjoy open sky. They’re pricier but highly functional.
Outdoor curtains or screens: These block wind, provide privacy, and reduce glare. Weatherproof fabrics resist fading and mildew.
For weather protection, consider a covered patio or gazebo if your budget allows. Even a simple roof structure keeps entertaining spaces usable during light rain or intense sun.
Use outdoor rugs to define zones and add comfort underfoot. They also help anchor furniture groupings visually.
Budget-Friendly Implementation: A Phased Approach
You don’t need to build your entire entertaining space at once. A phased approach spreads costs and lets you test layouts before committing.
Phase 1 (Essentials): Invest in quality seating and a dining table. These are your foundation. Start with flexible pieces you can rearrange.
Phase 2 (Lighting and shade): Add string lights and an umbrella or shade sail. These are relatively affordable and dramatically improve usability.
Phase 3 (Refinement): Add side tables, cushions, outdoor rugs, and accent lighting. These finishing touches improve comfort and aesthetics.
Phase 4 (Upgrades): If your entertaining space works well, consider permanent additions like a pergola, built-in seating, or a DIY outdoor kitchen.
DIY solutions save money throughout. Build simple benches, create planters from reclaimed materials, or install your own string lights. Look for DIY home repairs you can do yourself to understand basic installation techniques that apply to outdoor projects.
Thrift stores and online marketplaces often have quality outdoor furniture at a fraction of retail cost. Refinish or reupholster pieces to match your aesthetic.
Testing and Adjusting Your Layout
Before finalizing your design, test it. Host a small gathering and observe what works and what doesn’t.
Watch traffic patterns. Do guests naturally flow through the space or do they get stuck? Are pathways wide enough? Do people cluster in one area or spread throughout?
Notice lighting gaps. Are there dark corners? Is any seating in shadow during key entertaining hours? Does glare bother anyone?
Check seating comfort. Are people sitting for extended periods or standing? Do they have places for drinks and plates? Are conversation distances comfortable?
Assess zoning. Do dining and lounge areas feel distinct? Is the bar station accessible? Are focal points getting the attention you intended?
Make adjustments based on observations. Move furniture, add or reposition lights, adjust shade. Your entertaining space will evolve as you use it, and that’s exactly how it should work.
For ongoing maintenance and seasonal prep, check your end-of-summer home maintenance checklist to ensure your backyard stays in top condition year-round.
Conclusion: Your Functional Backyard Awaits
Designing a functional backyard entertaining space is about intentionality, not expense. Start with your space assessment, layer in strategic seating and lighting, manage traffic flow, and zone your areas for different activities. Test your layout with real gatherings and adjust as needed.
The result is a backyard that works as hard as you do—a space where guests feel welcome, conversations flow naturally, and hosting feels effortless. Whether you’re building it all at once or phasing it over time, the principles remain the same: comfort, function, and thoughtful design.