End of Summer Home Maintenance Checklist: Top Tasks Before Fall
Late August is the sweet spot most homeowners miss. The days are still warm enough to work outdoors comfortably, contractors are easier to book than they will be in October, and the worst of fall weather — heavy rain, wind, and the first hard frost — hasn’t arrived yet. Running through a solid end of summer home maintenance checklist right now means you’re fixing problems on your schedule, not the weather’s. Skip it, and you’ll be dealing with a clogged gutter in a November downpour or a failing furnace on the coldest morning of the year. Here’s exactly what to do, in order of priority.
1. Gutters & Downspouts: Clear Them Before Fall Leaves Arrive
Most people think of gutter cleaning as a fall task. That’s too late. If your gutters already carry late-summer debris — seed pods, shingle grit, dried bird nests — and then fall leaves pile on top, you get a compacted blockage that’s far harder to clear and more likely to cause overflow damage to your fascia, siding, and foundation.
Do this now:
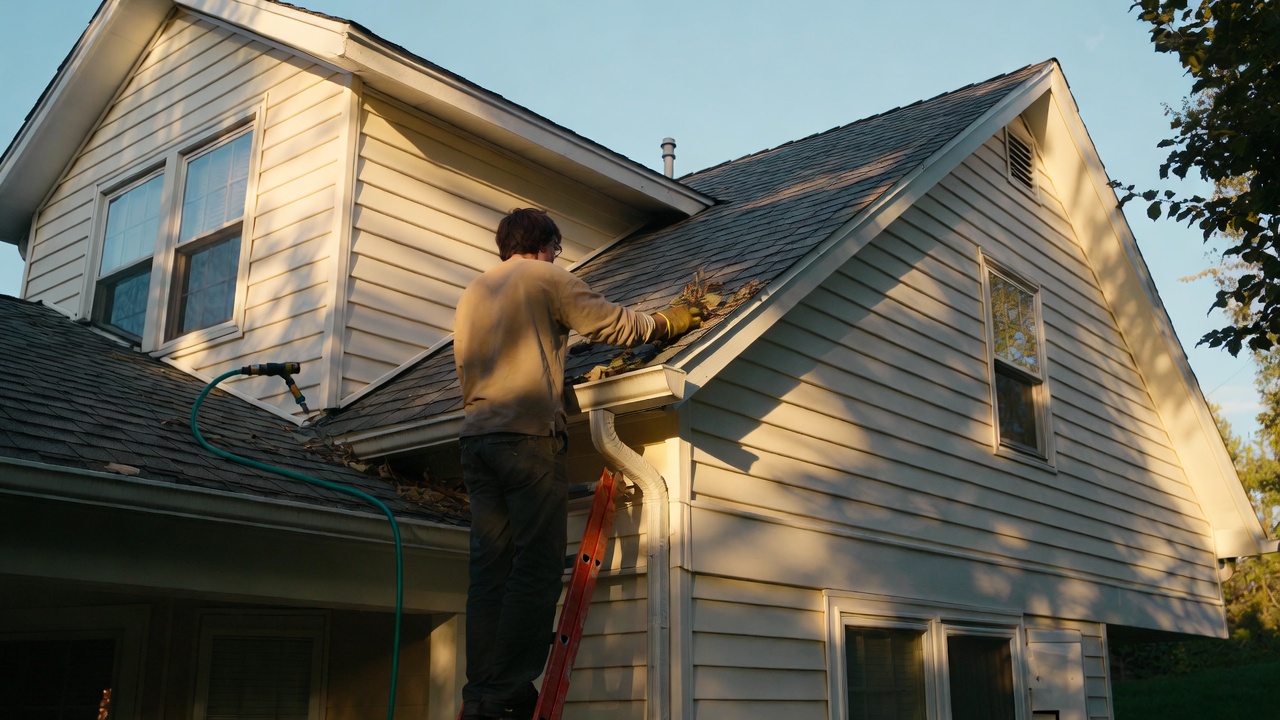
- Scoop out debris by hand or with a gutter scoop tool, working from the far end toward the downspout.
- Flush each gutter run with a garden hose to check for standing water, which indicates a sag or improper slope (gutters should pitch roughly ¼ inch per 10 feet toward the downspout).
- Check downspout outlets and extensions — water should discharge at least 4–6 feet from the foundation. Reattach any loose downspout straps.
- Look for rust spots, separated seams, or peeling paint on aluminum gutters. Seal small gaps with gutter sealant before they widen over winter.
This job takes 1–2 hours for a typical single-story home and costs nothing but time. Doing it in August means you’ll only need a quick touch-up once the leaves drop — not a full excavation.
2. Roof Inspection: Catch Small Problems Before Rain Season
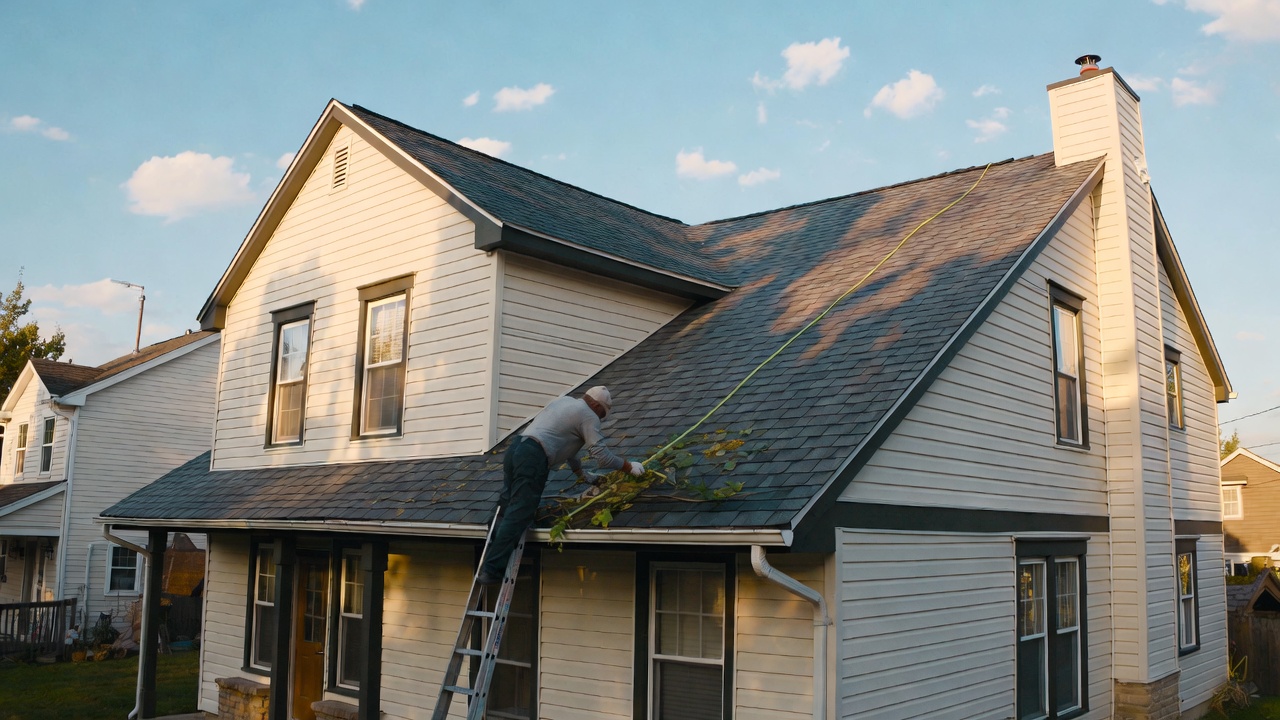
You don’t need to hire a roofer for a basic inspection. A pair of binoculars from the ground or a careful walk along the eaves with a ladder covers most of what you need to see. What you’re looking for:
- Missing or lifted shingles: Even one missing shingle is an active leak risk. Look for bare patches or shingles that are curling at the edges or corners.
- Granule loss: Check your gutters for an accumulation of dark, sand-like granules. Heavy granule loss means shingles are aging out and losing their UV and moisture protection.
- Flashing condition: Inspect the metal flashing around chimneys, skylights, and roof valleys. Lifted, cracked, or rusted flashing is one of the most common sources of interior water damage.
- Moss or algae growth: Dark streaks are algae; green or fuzzy patches are moss. Both trap moisture against shingles and accelerate deterioration. Treat with a diluted zinc sulfate solution or a purpose-made roof cleaner — never pressure wash, as this strips granules.
- Soffit and fascia: While you’re up there, check for soft spots or rot in the fascia boards. These are far cheaper to address now than after a winter of water infiltration.
If you spot anything beyond surface-level cleaning — cracked flashing, multiple missing shingles, or visible decking — book a licensed roofer now. August appointments are easier to get and cheaper than emergency calls in October.
3. Weatherstripping & Door/Window Seals: Stop Paying to Heat the Outside
Worn door and window seals are invisible money drains. A gap the width of a nickel around a standard exterior door is the equivalent of a 2-inch hole in your wall — air conditioning escapes all summer, and heat escapes all winter. Late August is the ideal time to inspect and replace seals before heating season begins.
How to spot worn weatherstripping:
- Close a door or window on a dollar bill. If you can pull it out without resistance, the seal isn’t doing its job.
- Hold a lit incense stick or thin piece of tissue near door and window frames on a windy day. Movement indicates air infiltration.
- Visually inspect foam, rubber, or felt strips for compression, cracking, or gaps at corners.
How to replace it:
- Peel or unscrew the old weatherstripping completely. Clean the channel with rubbing alcohol before applying new material.
- For door bottoms, use a door sweep (screw-mounted) rather than adhesive foam — it lasts years longer.
- For double-hung windows, V-strip (tension seal) weatherstripping is more durable than foam tape and handles the sliding friction better.
- Don’t forget the door threshold. If daylight is visible under a closed exterior door, the threshold needs adjustment or replacement.
For a broader approach to sealing an older home before cold weather, see our guide on how to weatherize an older home before fall — it covers wall insulation, basement rim joists, and attic bypasses that go well beyond just the doors and windows.
4. HVAC Servicing: Don’t Wait Until the First Cold Night
Every HVAC technician will tell you the same thing: the two worst times to schedule a furnace tune-up are the first cold day of fall and the first hot day of summer. Book your annual heating system service in August or early September and you’ll pay standard rates, get a prompt appointment, and have time to order parts if anything needs replacing.
What to do yourself right now:
- Replace the air filter. A clogged filter forces your system to work harder, raises energy bills, and shortens equipment life. Check the MERV rating — for most homes, MERV 8–11 balances filtration with airflow. If you have pets or allergy sufferers, go MERV 11.
- Check all supply and return vents. Make sure none are blocked by furniture, rugs, or drapes. Closed or blocked vents create pressure imbalances that stress the blower motor.
- Inspect the condensate drain line on your AC unit. A clogged drain line causes water backup and can shut the system down. Flush it with a cup of distilled white vinegar.
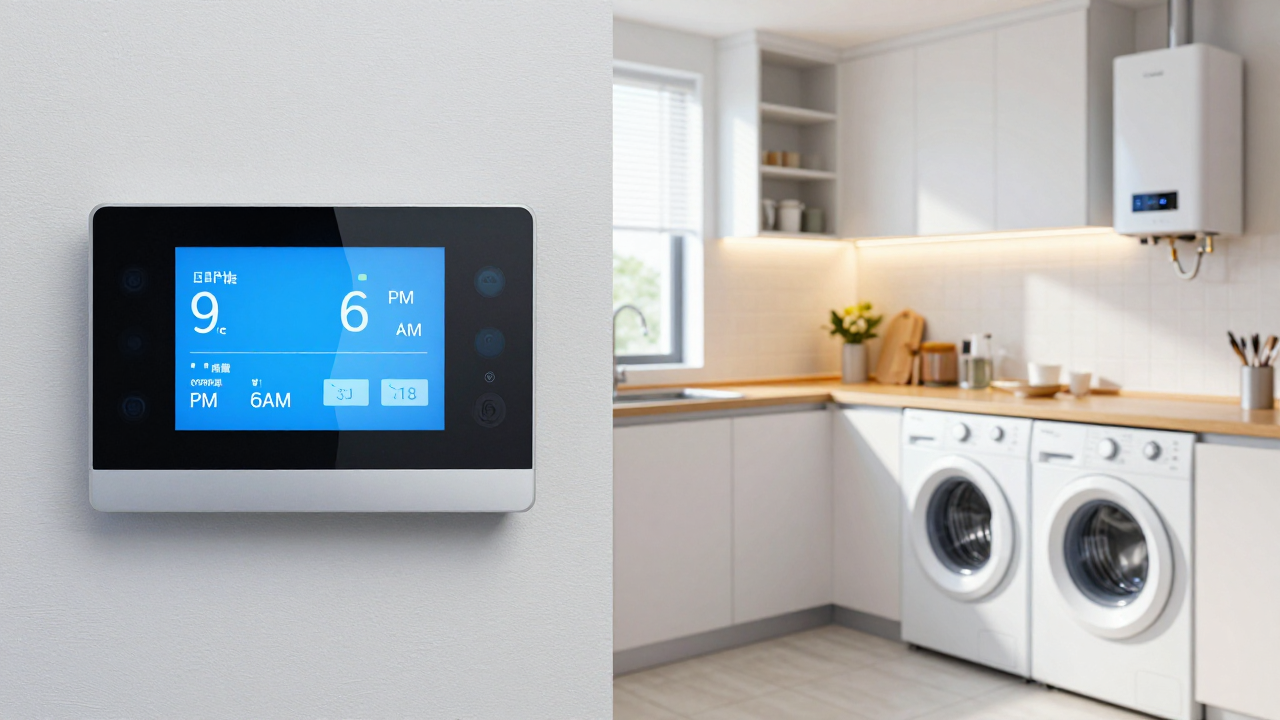
- Test the heating function now. Turn your thermostat to heat and run it for 10 minutes. If you smell burning dust, that’s normal on first use. If you smell gas, hear unusual noises, or get no heat, call a technician before the system is needed urgently.
What a professional tune-up covers: A qualified HVAC technician will check heat exchanger integrity (a cracked heat exchanger is a carbon monoxide risk), measure refrigerant levels, test ignition components, clean the burners, and verify that the system is operating within manufacturer specifications. Budget $80–$150 for a standard furnace tune-up.
If you’ve been putting off late-summer cooling fixes that are driving up your utility bills before you even switch to heat, our article on late-summer cooling fixes that cut utility bills covers several quick wins worth doing in the same visit.
5. Smoke & Carbon Monoxide Detectors: A 15-Minute Task That Saves Lives
Heating season is when CO incidents spike. Furnaces, fireplaces, and gas appliances that sit idle all summer can develop issues — cracked heat exchangers, blocked flues, improper combustion — that produce carbon monoxide. This is the most critical 15 minutes on this entire checklist.
- Test every unit. Press and hold the test button until you hear the alarm. If it doesn’t sound, replace the batteries immediately and test again. If it still fails, replace the unit.
- Replace batteries proactively. Even if the low-battery chirp hasn’t started, swap in fresh batteries at the end of summer. 9V alkaline batteries are standard; some models use AA or lithium.
- Check the manufacture date. Smoke detectors have a lifespan of 10 years; CO detectors typically last 5–7 years. The manufacture date is printed on a label on the back of the unit. If yours is past its service life, replace it — the sensor degrades over time and may not trigger reliably.
- Verify placement. Smoke detectors belong on every level of the home, inside each bedroom, and outside sleeping areas. CO detectors should be within 10 feet of each bedroom door and on every level. Keep both away from kitchens and bathrooms where steam and cooking fumes cause nuisance alarms.
According to the Auburn Insurance late summer home maintenance checklist, detector testing and replacement is one of the most commonly skipped items on seasonal maintenance lists — and one of the highest-impact ones to get right before heating season begins.
6. Exterior Faucets & Hose Bibs: Prepare Before the First Frost
A frozen and burst outdoor faucet can send water pouring into a wall cavity or basement. The repair — drywall, insulation, potential mold remediation — easily runs into thousands of dollars. Prevention takes about 20 minutes per faucet.
Steps to winterize outdoor spigots:
- Disconnect all garden hoses now. A hose left connected traps water in the pipe and prevents the faucet from draining, defeating even a frost-free hose bib. Drain and store hoses in a garage or shed.
- Locate the interior shutoff valve for each outdoor faucet (typically in the basement or crawl space on the supply line leading to the exterior wall). Turn it off.
- Open the exterior faucet to drain any remaining water from the pipe. Leave it slightly open until all water stops dripping, then close it.
- If you don’t have a frost-free hose bib (identifiable by its longer stem — typically 4–8 inches — compared to a standard faucet), consider installing one before winter. It’s a straightforward plumbing swap that eliminates the need to shut off interior valves every year.
- Install an insulated faucet cover as a secondary precaution, especially in climates where temperatures regularly drop below 20°F (–6°C).
Also check any exposed supply pipes in unheated spaces — garages, crawl spaces, and exterior walls. Wrap them with foam pipe insulation before temperatures drop.
Quick-Action Checklist: All Tasks at a Glance
Use this summary to track your progress. Estimated times are for a typical single-family home with one person working.
- ✅ Clear gutters and flush downspouts — 1–2 hours
- ✅ Inspect roof for missing shingles, flashing damage, and moss — 30–45 minutes
- ✅ Test all exterior door and window weatherstripping; replace worn seals — 1–3 hours depending on scope
- ✅ Replace HVAC air filter — 10–15 minutes
- ✅ Check and clear all supply/return vents — 15 minutes
- ✅ Flush AC condensate drain line with vinegar — 10 minutes
- ✅ Test heating system function before first cold night — 10 minutes
- ✅ Schedule professional HVAC tune-up — 5 minutes to book
- ✅ Test all smoke and CO detectors; replace batteries — 15–20 minutes
- ✅ Check manufacture dates on all detectors; replace expired units — 15 minutes
- ✅ Disconnect and store all garden hoses — 10 minutes
- ✅ Shut off interior valves to exterior faucets; drain lines — 20–30 minutes
- ✅ Insulate exposed pipes in unheated spaces — 30–60 minutes
Total estimated time: 5–8 hours spread across a weekend. That’s a small investment compared to the cost of a single water damage claim, an emergency HVAC call, or a heating bill inflated by air leaks all winter.
Do It Now, While the Weather Is Still on Your Side
Every task on this list is easier, cheaper, and safer to complete in August than in October. Roofs are dry, ladders are stable, caulk cures properly in warm temperatures, and HVAC technicians have open slots. Once the leaves start falling and the nights get cold, you’ll be competing with every other homeowner who waited.
Work through the checklist one section at a time over a weekend or two. Tackle the high-priority items — gutters, detectors, HVAC filter, and hose bibs — in a single afternoon if time is tight. The rest can follow across the next few weeks. The goal isn’t perfection; it’s getting ahead of the season before the season gets ahead of you.
If your home is older and you want to go deeper on air sealing and insulation beyond what’s covered here, our full guide on weatherizing an older home before fall walks through the higher-impact upgrades that deliver real energy savings over the heating season.