Vertical Storage and Hidden Space Solutions for Small Homes
Vertical storage and hidden space solutions for small homes transform cramped living quarters into functional, organized spaces without requiring major renovations. Whether you’re working with a studio apartment, a tiny house, or a modest bedroom, the untapped potential of your walls, cavities, and overlooked corners can nearly double your usable storage capacity. This guide walks you through practical, DIY-friendly methods to maximize every inch of vertical and concealed space in your home.
Why Vertical Storage Matters for Small Homes
Small homes face a fundamental challenge: floor space is limited, but wall space is abundant. Vertical storage shifts the storage equation by moving items off the floor and onto walls, freeing up valuable square footage for living and movement. This approach also improves daily functionality—frequently used items stored at eye level or within arm’s reach are easier to access than items stacked on the floor or crammed into closets.
Beyond practicality, vertical storage creates visual breathing room. A cluttered floor makes a space feel cramped; organized vertical systems make rooms appear larger and more intentional. Hidden storage solutions add another layer of benefit by keeping everyday clutter out of sight, reducing visual noise and creating a calmer environment.
Maximizing Vertical Wall Space: Shelving, Wall-Mounted Systems, and Pegboards
Wall-mounted storage is the fastest, most flexible approach to vertical organization. Unlike built-ins, these solutions require no permanent structural changes and can be adjusted or removed as needs evolve.
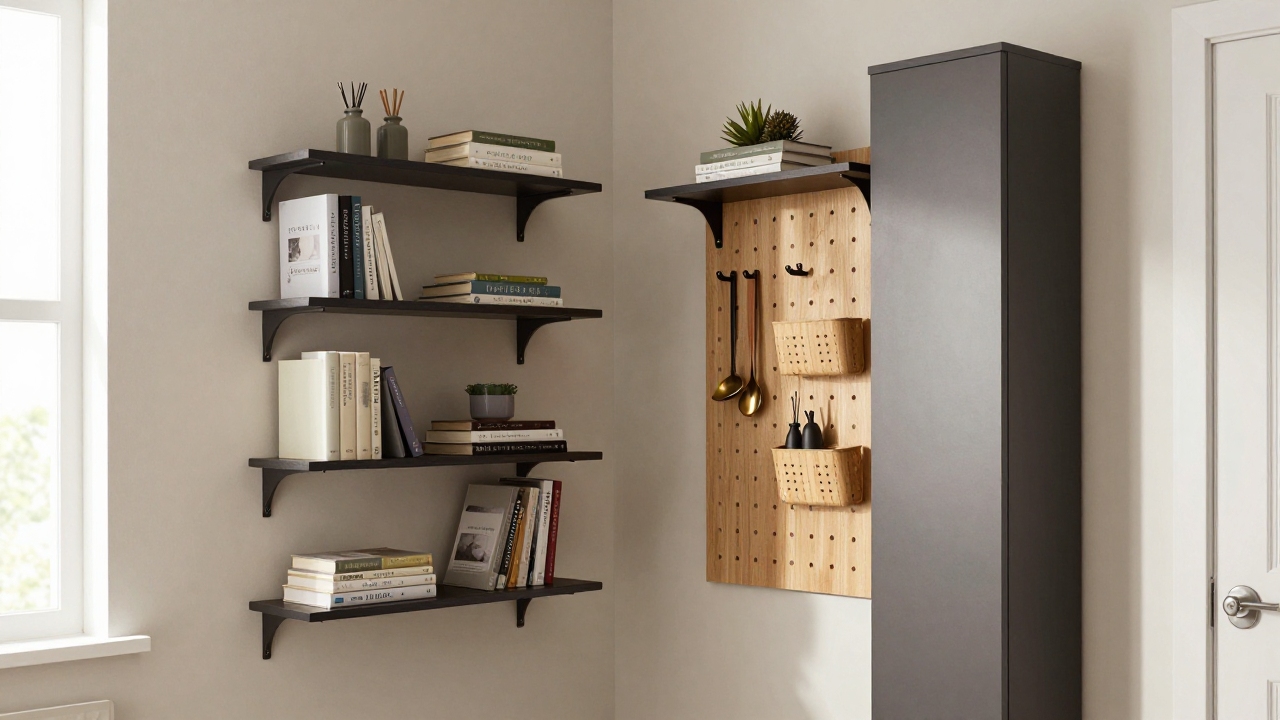
Floating Shelves: Install floating shelves at varying heights to create visual interest while maximizing storage. Use a stud finder to locate wall studs, then anchor brackets into studs for weight-bearing capacity. Floating shelves work well for books, decorative items, and frequently accessed supplies. Space shelves 12 to 16 inches apart for standard items; adjust spacing based on what you’re storing.
Wall-Mounted Shelving Systems: Modular systems like ladder shelves, corner shelves, or grid-based systems offer flexibility without drilling into studs. These are ideal for renters or anyone hesitant about permanent installation. Lean-to ladder shelves fit snugly in corners and hold surprisingly large loads when properly positioned against a wall.
Pegboards: Pegboards are versatile workhorses for kitchens, garages, and craft spaces. Mount a pegboard on a clear wall section, then customize it with hooks, baskets, and shelves tailored to your storage needs. Pegboards are particularly effective for tools, kitchen utensils, and craft supplies—anything with a handle or a hook-compatible shape.
Installation Tips: Always use a stud finder to locate wall studs; anchoring into studs ensures shelves hold their weight safely. For drywall-only mounting, use heavy-duty anchors rated for your expected load. Distribute weight evenly across shelves to prevent sagging. Start with lower shelves and work upward to avoid obstructing your view as you install.
Hidden Storage Between Studs: Assessment, Access, and Installation
Between-stud cavities (the spaces between wall framing studs) represent hidden storage potential in most homes. These cavities are typically 14.5 inches wide and run the full height of your wall, offering surprising storage capacity for flat items like documents, medications, or valuables.
Assessment: First, locate studs using a stud finder. Standard wall studs are spaced 16 inches apart (center to center). Mark the cavity boundaries with a pencil. Measure the cavity depth—typically 3.5 inches in standard framing—to determine what fits. Avoid cavities near plumbing lines, electrical wiring, or HVAC ducts; use a multi-scanner (stud finder with electrical detection) to confirm the cavity is clear.
Access Options: You have two main approaches: removable panels or hinged doors. For a removable panel, cut a piece of drywall or plywood to fit the cavity opening, then use magnetic catches or velcro strips to hold it in place. For a hinged door, install a small cabinet door on hinges for a more polished look. Both options keep contents hidden while remaining accessible.
Installation Steps: Use a drywall saw or reciprocating saw to cut the opening carefully. Wear a dust mask—drywall dust is fine and irritating. Install a frame around the opening using 1×2 lumber if needed for structural support. Attach your chosen door or panel using appropriate hardware. Finish the edges with trim or caulk for a seamless appearance.
What to Store: Between-stud cavities work best for flat, lightweight items: documents, photos, valuables, medications, or spare keys. Avoid storing anything moisture-sensitive or items that require temperature control.
Storage Above Doorways: Practical Solutions and Safety Considerations
The space above doorways is often overlooked, yet it’s perfect for shallow storage. This area is out of the way, doesn’t interfere with daily movement, and is surprisingly accessible with a step ladder.
Shallow Shelving: Install a narrow shelf (8 to 12 inches deep) above doorways for seasonal items, decorative boxes, or supplies used infrequently. Use brackets rated for your expected load and ensure they’re anchored into studs or use heavy-duty anchors. The shelf should be at least 7 feet high to avoid head bumps.
Over-the-Door Organizers: Hanging organizers designed to hook over door frames provide instant storage without drilling. These work well for shoes, cleaning supplies, or pantry items. Ensure the organizer doesn’t interfere with the door’s swing or obstruct your view when the door opens.
Safety Considerations: Keep heavier items on lower shelves and lighter items above. Avoid storing anything you’d need to access frequently—the inconvenience of climbing a ladder repeatedly defeats the purpose. Never store items that could fall and cause injury. Ensure shelves are level and securely fastened; a falling shelf is dangerous and wasteful.
Under-Stair Storage: Types, Accessibility, and Design Options
Stairs represent one of the largest untapped storage opportunities in homes with multiple levels. The space beneath stairs is naturally enclosed and can accommodate everything from shoes to seasonal decorations. For detailed guidance on stair-related home improvements, see our article on stair renovations that add home value, which covers structural considerations.
Drawer Systems: Custom-built drawers that slide out from under stairs maximize accessibility and keep contents organized. These work best when installed by professionals, but DIY versions using heavy-duty drawer slides are feasible for simpler designs.
Open Shelving: Open shelves under stairs are budget-friendly and visually interesting. Install shelves parallel to the stair angle, creating a tiered effect. This approach works well for displaying decorative baskets, storing books, or organizing shoes.
Closed Cabinets: Built-in cabinets with doors hide clutter and protect contents from dust. Measure carefully—under-stair spaces are often irregular, so custom-built solutions fit better than off-the-shelf units.
Accessibility Considerations: Store frequently accessed items in the most accessible sections (typically the lower, front portions). Reserve hard-to-reach spaces for seasonal items or things you rarely need. Ensure nothing blocks stair safety or creates a tripping hazard.
Combining Solutions: Creating a Cohesive Storage Strategy
The most effective small-home storage systems combine multiple approaches rather than relying on a single solution. A cohesive strategy addresses different storage needs with appropriate methods.
Assess Your Needs First: Before installing anything, inventory what you need to store. Categorize items by frequency of use, size, and type. Frequently used items should be most accessible; seasonal or rarely used items can occupy harder-to-reach spaces.
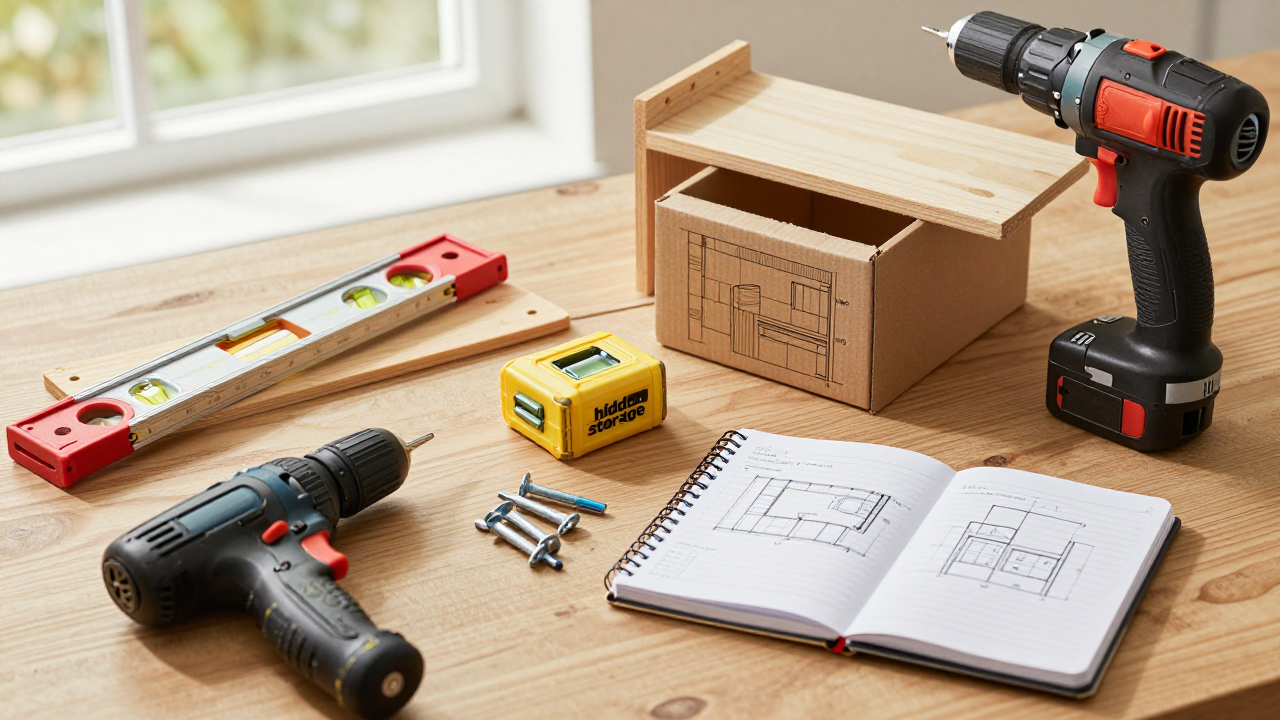
Combine Vertical and Hidden Storage: Use wall-mounted shelving for everyday items and between-stud cavities for valuables or items you prefer out of sight. This layered approach maximizes both functionality and aesthetics.
Match Your Lifestyle: If you work from home, prioritize accessible shelving for supplies and documents. If you entertain frequently, invest in attractive vertical storage that doubles as décor. If you have kids, ensure storage is safe and at appropriate heights.
Plan for Growth: Small homes require ruthless organization. Before installing storage, consider whether you’re storing items you actually use or just hoarding. Review decluttering methods compared to establish what truly belongs in your space before building storage around it.
Tools and Materials Needed for DIY Implementation
Most vertical and hidden storage projects require basic tools and materials. Here’s what to gather before starting:
- Stud Finder: Essential for locating wall studs safely. A multi-scanner that detects studs, electrical wiring, and metal is ideal.
- Level: A 24-inch level ensures shelves are perfectly horizontal and cabinets are plumb.
- Drill/Driver: A cordless drill-driver handles drilling pilot holes and driving screws quickly.
- Saw: A drywall saw or reciprocating saw is needed for cutting openings in walls. A hand saw works for smaller projects.
- Measuring Tape: A 25-foot tape measure covers most home projects.
- Fasteners: Stock heavy-duty drywall anchors, wood screws (2.5-inch and 3-inch), and lag bolts for studs.
- Brackets and Hardware: Floating shelf brackets, hinges, magnetic catches, and velcro strips depend on your chosen solutions.
- Safety Gear: Dust mask, safety glasses, and work gloves protect you during installation and cutting.
- Lumber: 1×2 or 1×4 boards for framing and trim; plywood for panels or shelves.
For most projects, you’ll spend $50 to $200 on materials depending on scale and finish quality. Professional installation costs $300 to $1,500 depending on complexity, so DIY saves significant money.
Common Mistakes to Avoid
Overloading Shelves: The most common error is storing too much weight on a single shelf. Distribute weight evenly and don’t exceed the shelf’s rated capacity. Sagging shelves look bad and fail suddenly.
Poor Stud Location: Anchoring into drywall alone without studs is the second-most common failure. Always use a stud finder and anchor into studs when possible. Heavy-duty anchors work for lighter loads, but studs are more reliable.
Ignoring Electrical and Plumbing: Cutting into a wall without confirming there’s no wiring or plumbing behind it is dangerous. Use a multi-scanner before cutting any opening.
Poor Accessibility: Storing items you use daily in hard-to-reach places defeats the purpose of storage. Keep the 80/20 rule in mind: the 20% of items you use 80% of the time should be most accessible.
Mismatched Heights and Spacing: Uneven shelves or awkwardly spaced storage look unprofessional. Use a level religiously and plan shelf spacing before drilling holes.
Forgetting Finishing Touches: Raw wood, exposed fasteners, and unfinished edges look incomplete. Paint, stain, or trim your storage solutions to match your décor and create a polished appearance.
Conclusion: Measuring Your Results and Next Steps
Vertical storage and hidden space solutions transform small homes from cramped and cluttered to organized and functional. By systematically addressing wall space, between-stud cavities, doorway areas, and under-stair zones, you can nearly double your effective storage capacity without renovation costs or major structural changes.
Measure Your Success: After implementation, assess how much floor space you’ve reclaimed and how much easier it is to find and access items. Most people report a 30 to 50 percent increase in usable floor space and significantly reduced daily frustration.
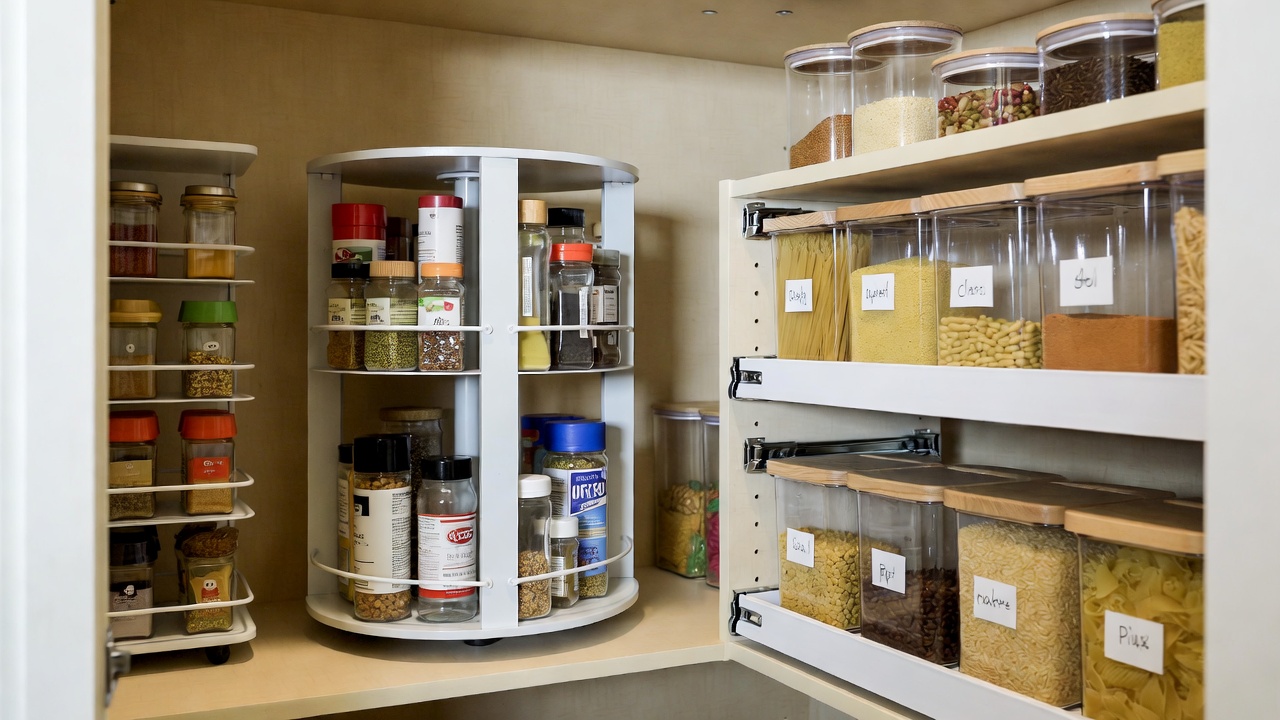
Next Steps: Start with one high-impact project—typically wall-mounted shelving in your most-used room. Complete it fully, then move to the next area. This phased approach prevents overwhelm and lets you refine your system as you learn what works best for your lifestyle. For additional organization strategies, explore how to organize pantry deep shelves with turntables and pull-out bins, which applies similar principles to any storage system.
Small homes don’t require small thinking. With smart vertical and hidden storage solutions, you’ll create a home that feels spacious, organized, and genuinely livable—no matter your square footage.