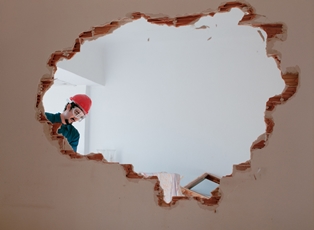
Fixing a hole in the wall is a common household repair task that may seem intimidating at first glance. However, with the right approach and tools, it’s a manageable project that can save you time and money in the long run.
Understanding the Damage
Types of Wall Damage
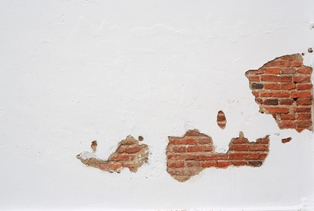
Wall damage can vary from minor scratches and dents to larger holes caused by accidents, furniture, or other impacts.
Assessing the Size and Severity
Before diving into the repair process, it’s essential to assess the size and severity of the hole. This evaluation will help determine the most suitable repair method.
Gathering Materials and Tools
To effectively repair a hole in the wall, you’ll need a few essential materials and tools. These are readily available at most hardware stores and include items such as spackling compound, putty knife, sandpaper, drywall patch kits, joint compound, primer, and paint.
Preparing the Area
Safety Precautions
Safety should always be a top priority when undertaking any DIY project. Before starting the repair work, make sure to wear appropriate protective gear such as gloves and safety goggles.
Clearing Debris
Begin by clearing the area around the hole of any debris or loose particles. Use a brush or vacuum cleaner to ensure the surface is clean and free of dust, which could affect the adhesion of the patching material.
Patching Small Holes
Materials Needed
For small holes, such as nail or screw holes, you’ll need spackling compound, a putty knife, and sandpaper.
Step-by-Step Guide
- Start by applying a small amount of spackling compound to the hole with the putty knife.
- Use the knife to smooth the compound evenly over the surface, ensuring it fills the hole completely.
- Allow the compound to dry according to the manufacturer’s instructions.
- Once dry, sand the patched area until it’s smooth and flush with the surrounding wall.
Repairing Larger Holes
Materials Needed
For larger holes, you’ll need a drywall patch kit, joint compound, and a putty knife.
Step-by-Step Guide
- Begin by cutting a piece of drywall from the patch kit slightly larger than the hole.
- Place the patch over the hole and secure it in place with joint compound, using the putty knife to spread it evenly.
- Allow the compound to dry completely before sanding the area smooth.
Preventative Measures
To minimize the risk of future wall damage, consider taking preventative measures such as using wall anchors for heavy objects, avoiding excessive force when hanging items, and regularly inspecting walls for signs of wear and tear.
FAQs Answer
The time required to fix a hole in the wall depends on the size and severity of the damage. Small holes can typically be patched in a matter of hours, while larger holes may require additional time for drying and finishing.
It’s recommended to wait until the patched area is completely dry before painting to ensure a smooth and seamless finish.
Before beginning any repair work, make sure to wear appropriate protective gear such as gloves and safety goggles to protect yourself from dust and debris.
Sanding the patched area helps to smooth out any rough edges or uneven surfaces, resulting in a seamless finish.
Conclusion
Repairing a hole in the wall may seem daunting at first, but with the right approach and materials, it’s a straightforward task that can be completed with minimal hassle. By following these steps and taking preventative measures, you can keep your walls looking pristine for years to come.